DIY enclosed raised bed garden. Step by step. Very nice!
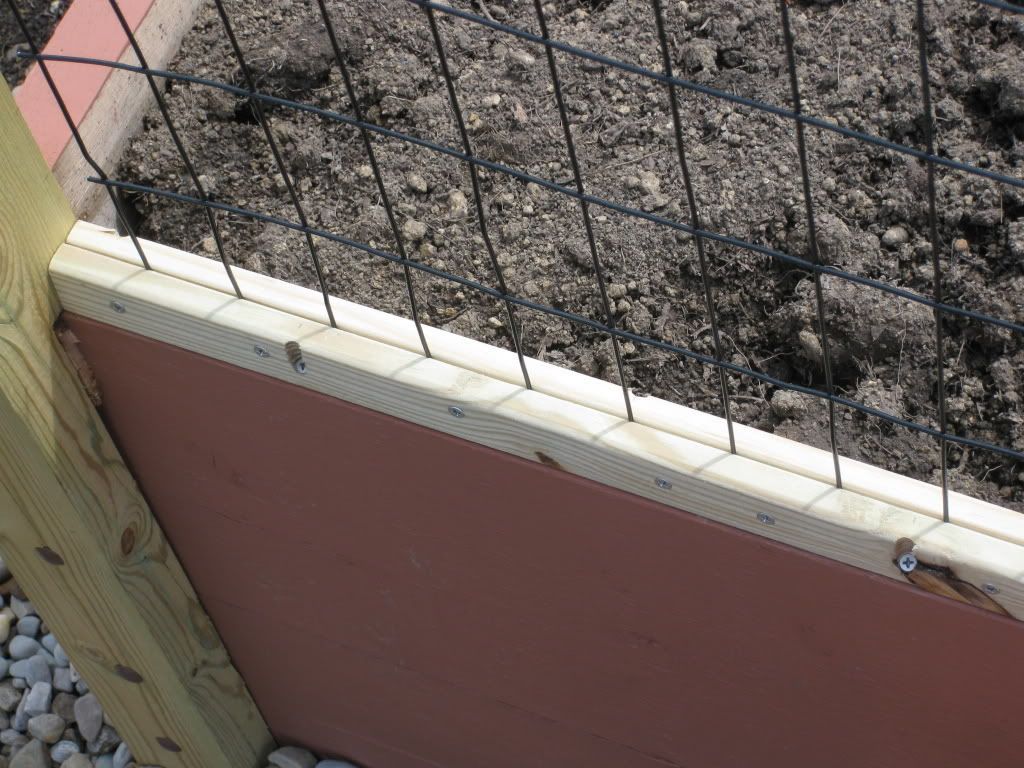
With the screen panel dangling from the clamps now, I’ll line up the bottom rail flush to the outside edge of the garden bed wall and install 1-1/4″ deck screws to secure the bottom rail. Due to the tension I’ll be applying later. I’m using screws about every six inches on both sides of the base fence in pocket holes that I made before assembly:
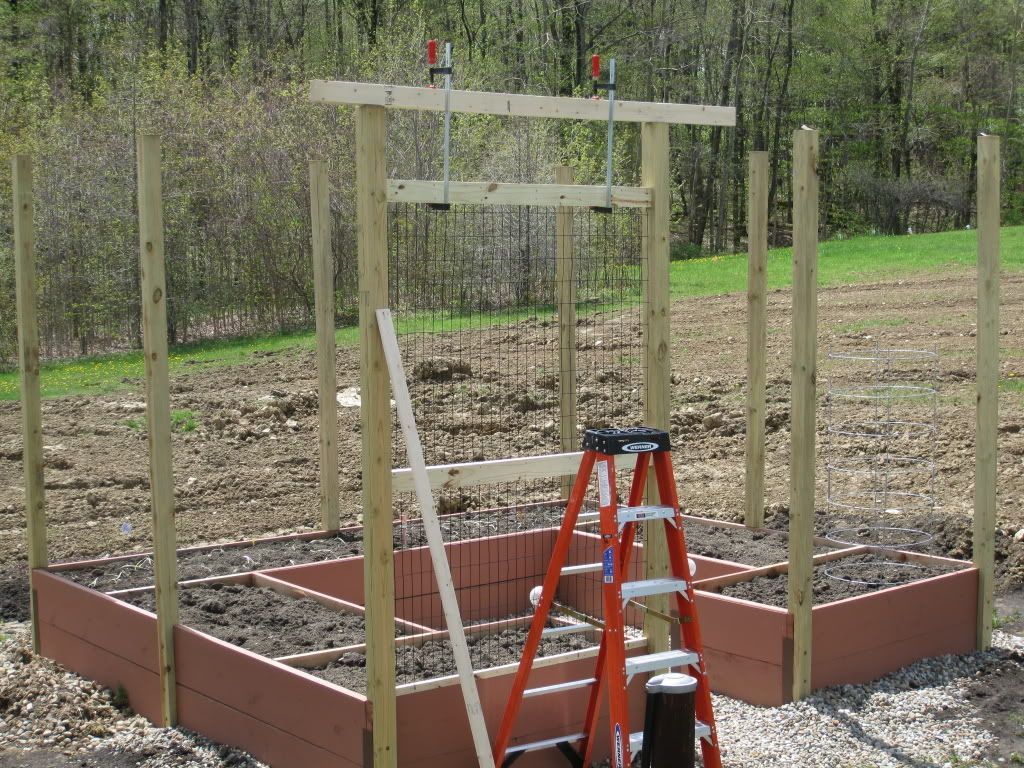
Now I’ll remove the temporary piece of lumber (used for transport and hanging) before I tighten the clamps to pull the fencing tight and put a little tension on it. I don’t want to remove it out of the sandwich of boards or deflect the 2×4 the clamp is pulling against, just enough to pull the fencing taught:
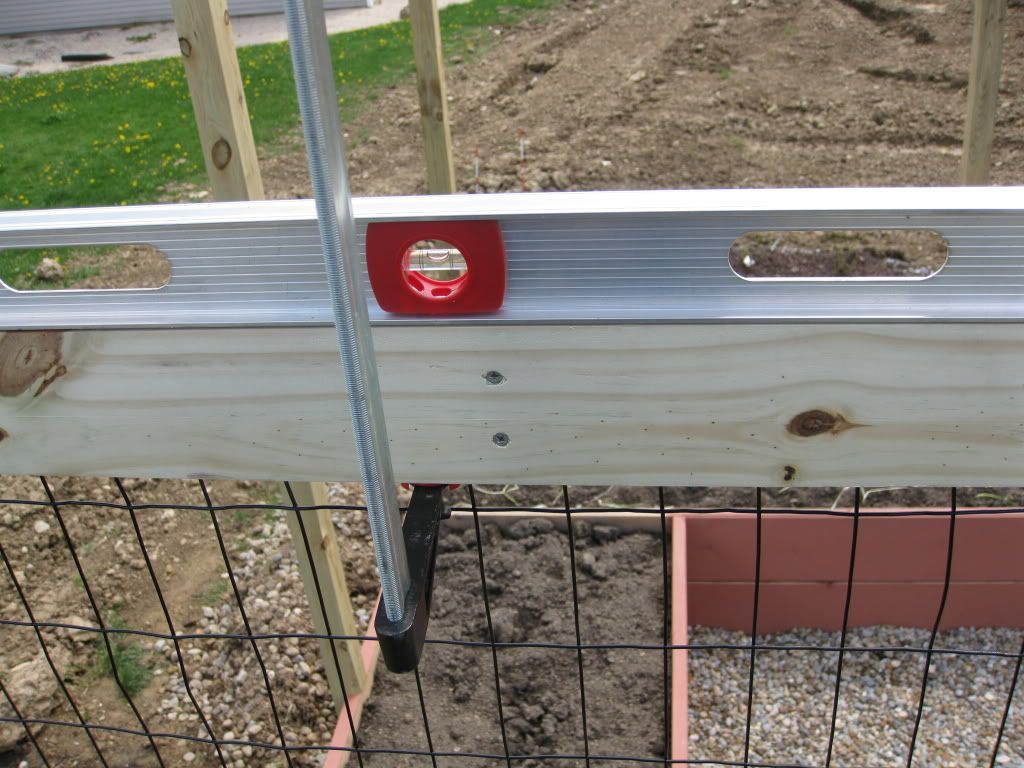
Almost done! I want to check the top rail level and adjust the clamps to get the board as level as possible. I want to avoid loosening a clamp to achieve a group, as the fencing may sag if I do:
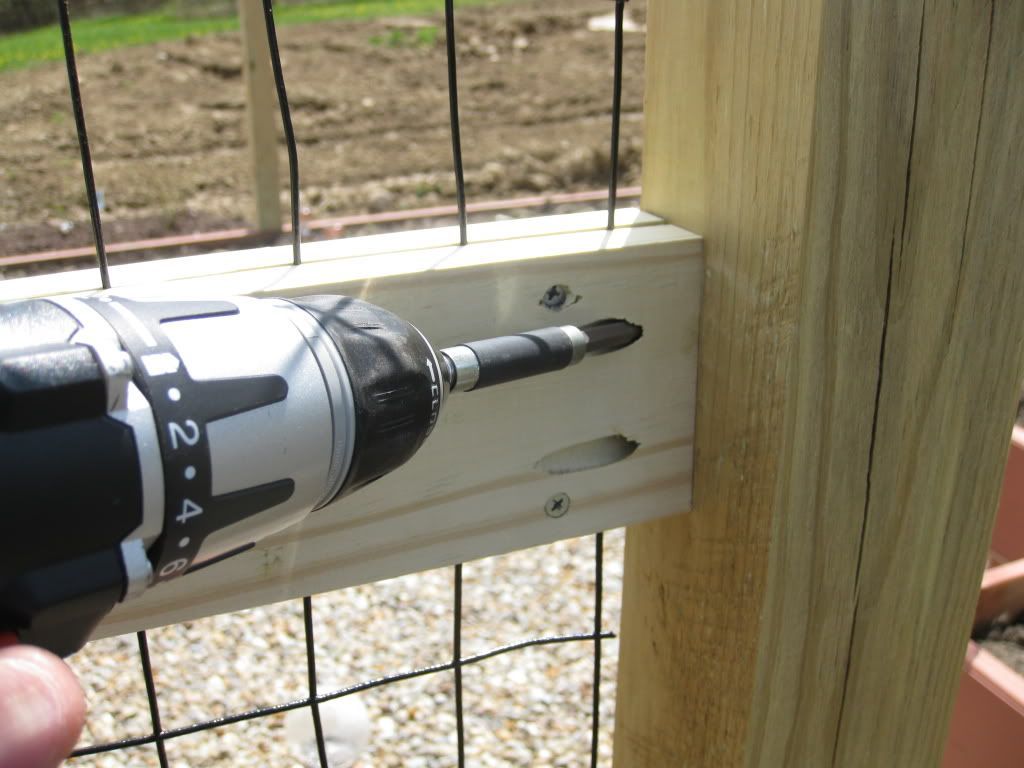
With the fencing taught, and the rails level, I’ll now go back to the pocket holes for the center and top rail and install 1-1/4″ deck screws to secure them:
Now I’ll loosen the clamps sufficiently for removal, remove the 2×4 on top of the rails, and install the first panel! Beer 4U2
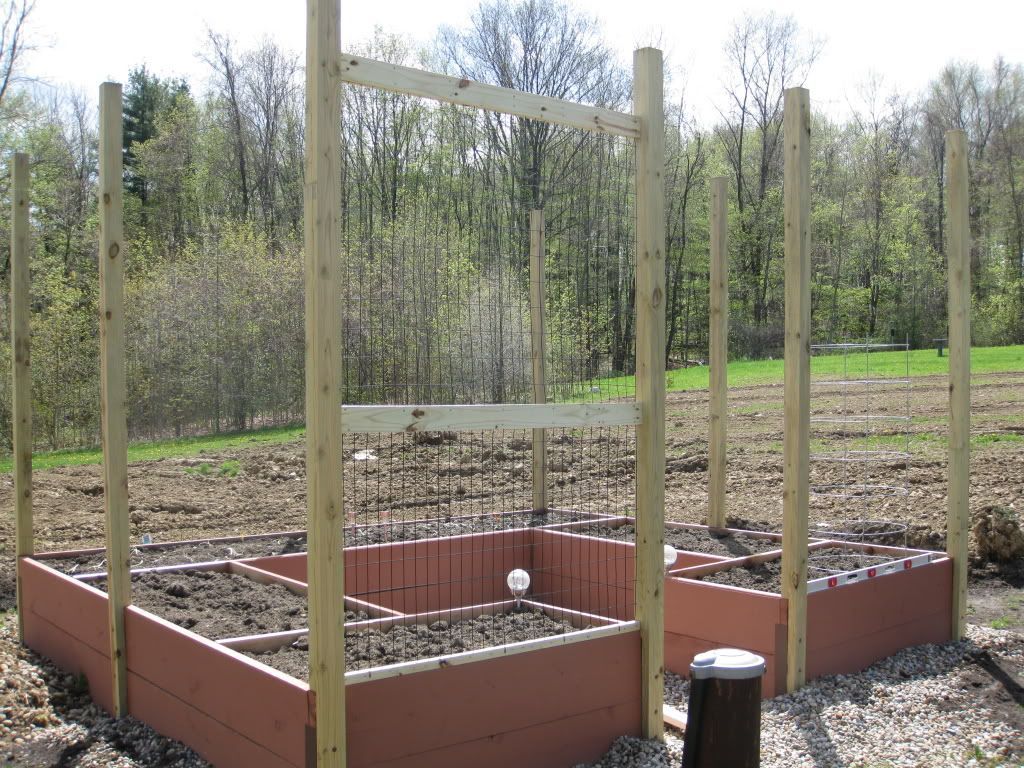
I’ll repeat these steps for the remaining seven-screen panels.