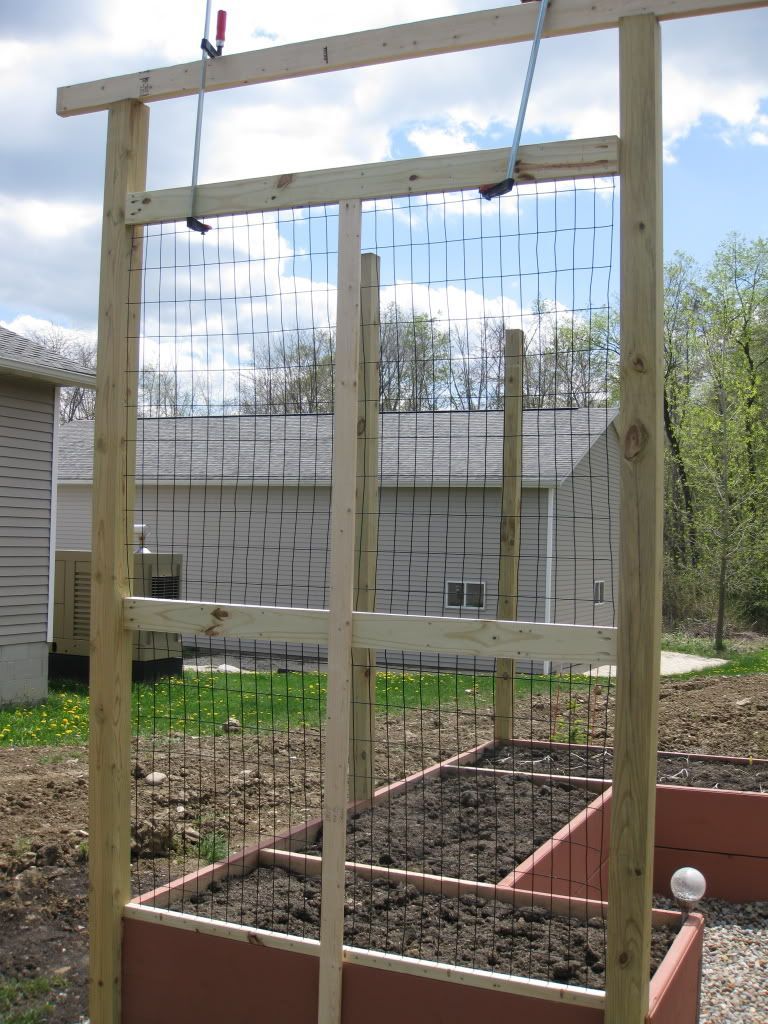
DIY enclosed raised bed garden. Step by step. Very nice!
With the 48″ section of fencing applied to half the sandwich, it’s time to install the 36″ fencing:
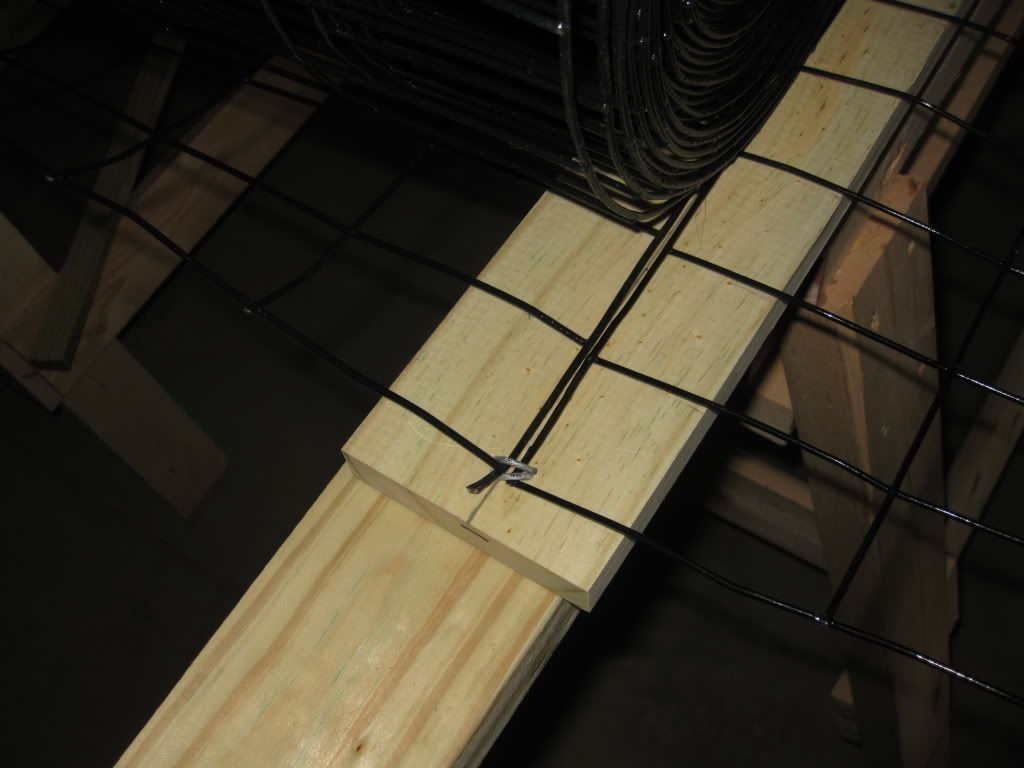
With both the 48 and 36 fence sections “stapled” on the corners of the top, center, and bottom rail, it’s time to finish installing the rest of the “sandwich” boards on top of the fencing. I should point out that it’s CRITICAL to ensure the pieces are well clamped before screwing together with deck screws. Below, you’ll see just two clamps on the bottom rail, but I’m just keeping the panel in place while preparing for the center rail. I’ll generally use 5 or 6 clamps per rail, tightened as much as I can:
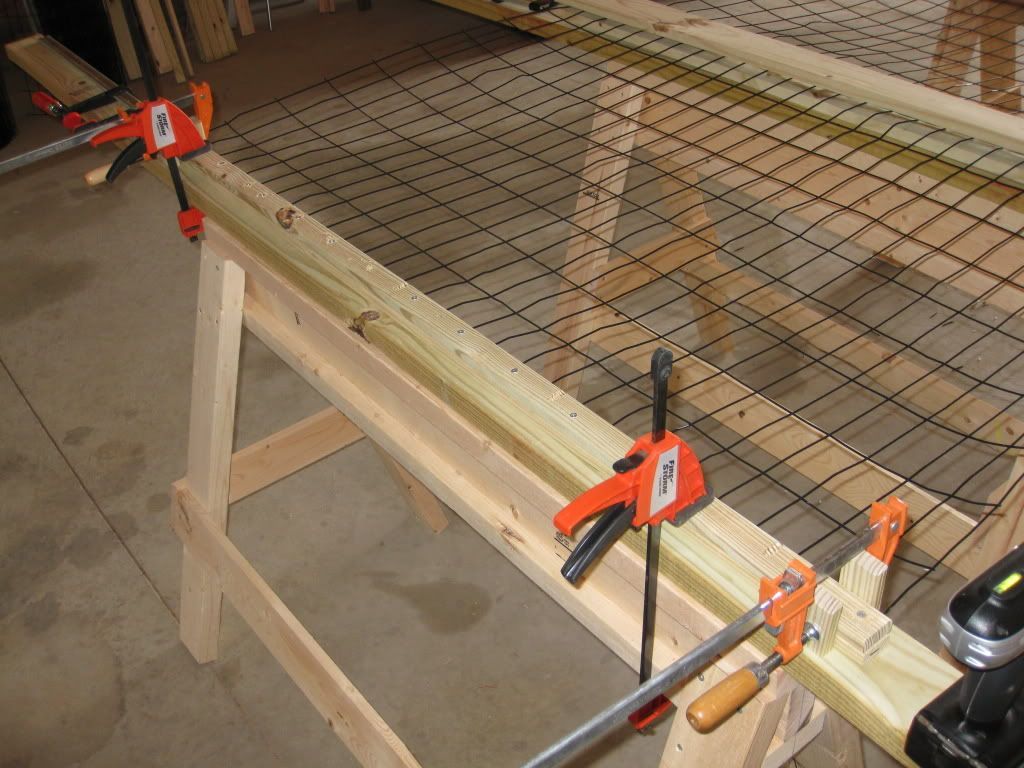
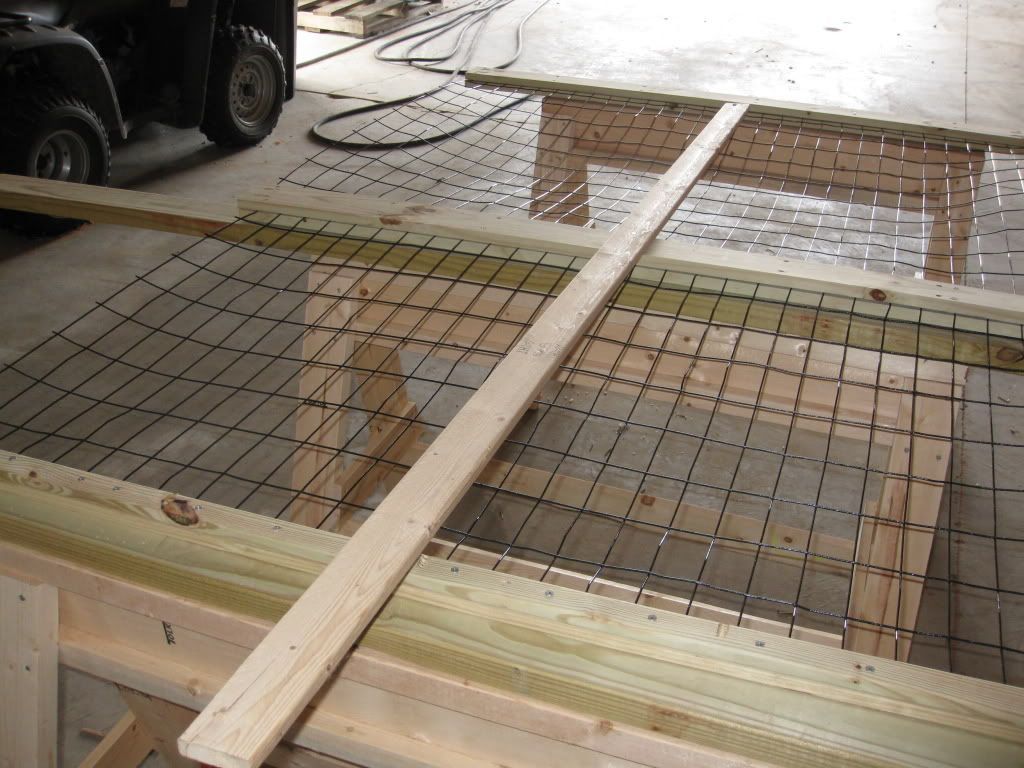
The screen panel now has all three rails, almost ready for installation:
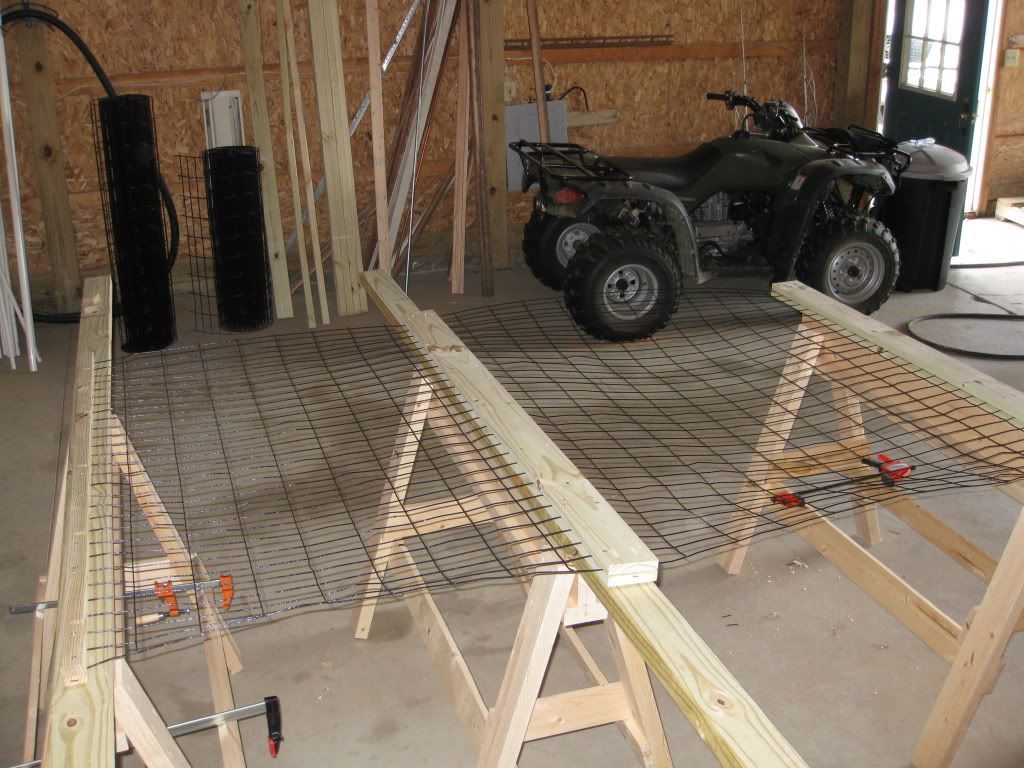
I’ve added a temporary piece of lightweight lumber so I can carry this section out to the worksite, kind of like a picket sign:
I’ve already placed a 2×4 across the uprights at the wok site where I’ll be installing this particular screen panel. I’ve also pre-placed several large clamps on the 2×4. If you look closely, you’ll see the 2×4 is placed on its 2″ edge to minimize deflection when I tighten the clamps. The temporary piece I installed certainly helped when hooking onto the clamps as it’s almost 8 feet up!
