Wine bottle bird feeder tutorial
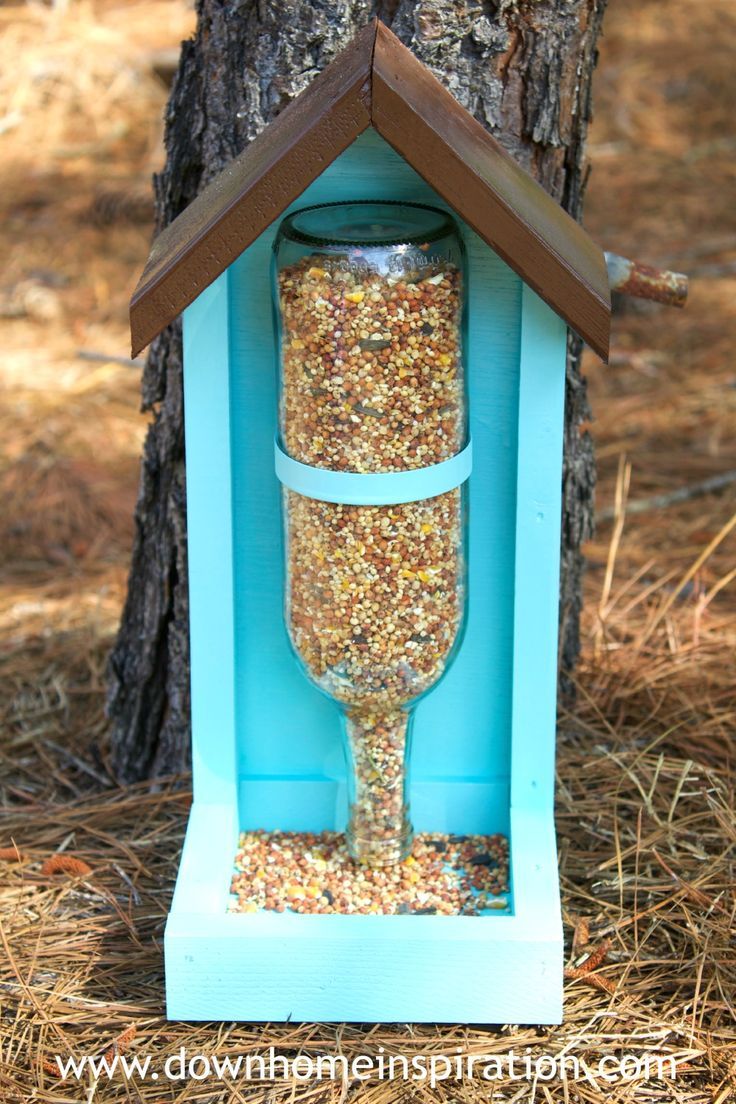
Supplies Needed:
(1) 8 foot 1 x 2 pine furring strip (my local price $1.18)
(1) 8 foot 1 x 4 pine furring strip ($2.08)
(1) 3/16 x 2 x 2 piece luan plywood
Hose clamp (such as this)
wine bottle (11 inches long)
table saw
wood glue
brad nailer or hammer and nails
Cut List: Please see numbered picture below to correlate with list
1) 2 – 1?2 @ 11? These should be cut at 45* on one end, with a 5/16th” wide channel that is 1/4? from the bottom of the side and 1/4 deep. They also need the same channel running vertically 1/4? from the back.
2) 2 – 1?2 @ 3 5/8? These pieces will need a channel that is 5/16th” wide channel that is 1/4? from the back and 1/4? deep.
3) 1 – 1?2 @ 4 5/8? This will also be needing the same channel that is 5/16th” wide and 1/4 ” from the back and 1/4? deep as well as a channel on the top using the same measurements.
4) 1 – 1?2 @ 6? Again, this piece will need a channel that is 5/16th” wide, 1/4? from the back and 1/4? deep.
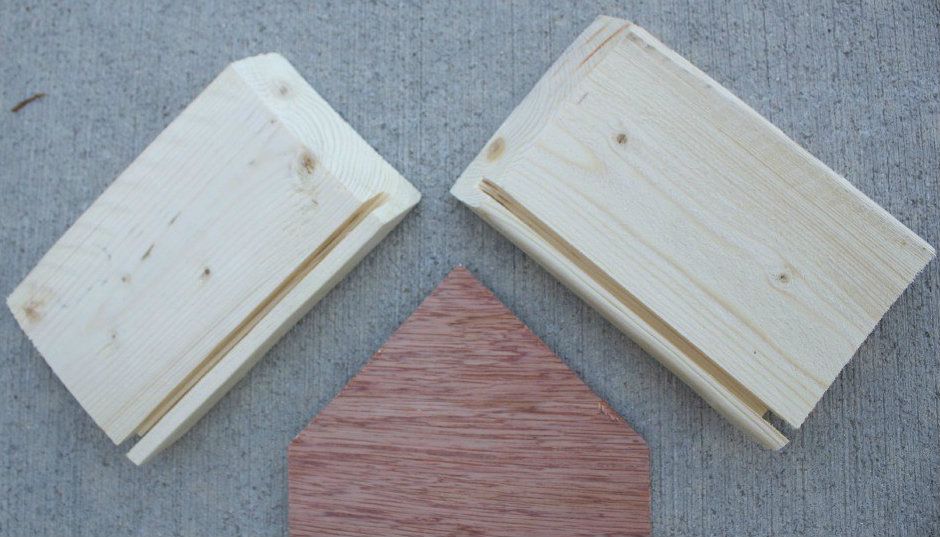
5) 2 – 1?4 @ 6? These boards form the roof and need to have opposing (parallel) 45* angles. They also need to have the same channel as above: 5/16th” wide by 1/4? deep, 1/4? from the back.
6) 1 – plywood @ 5?5?
7) 1 – plywood @ 5?12 1/2? Angled at 45* down to 10? at sides
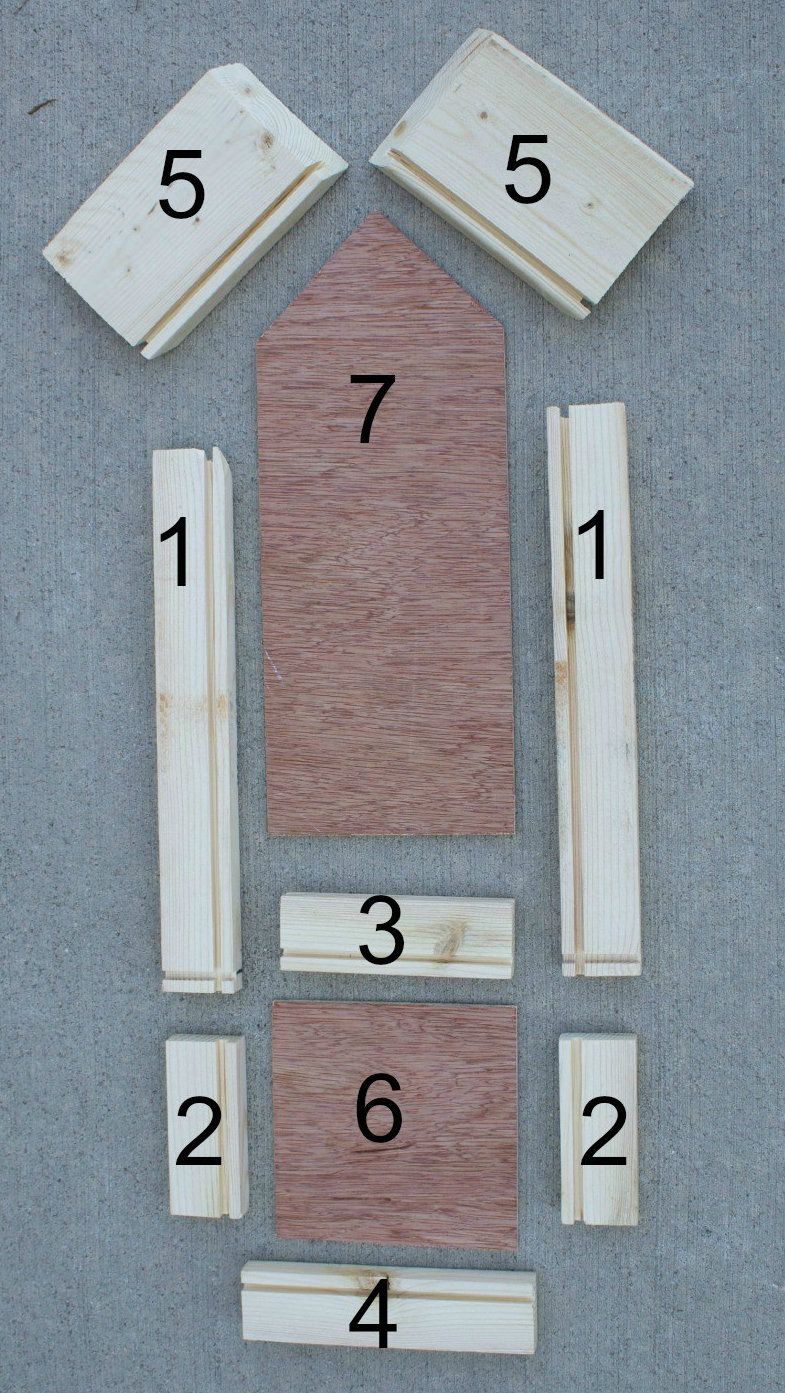
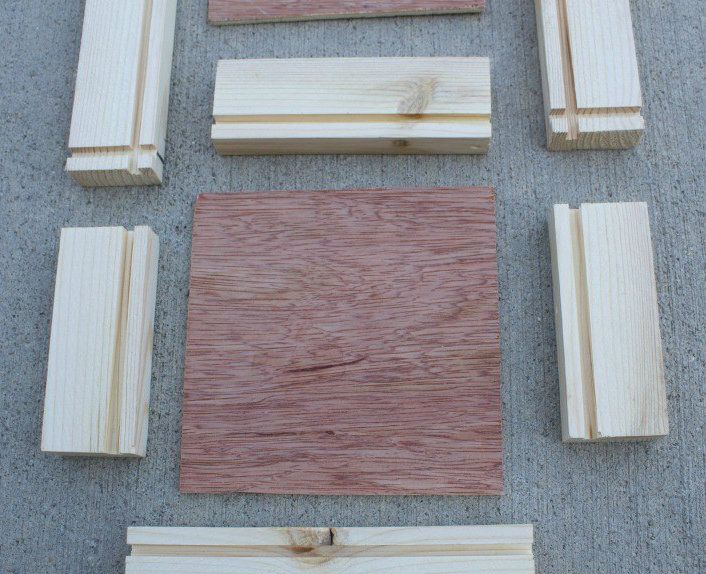
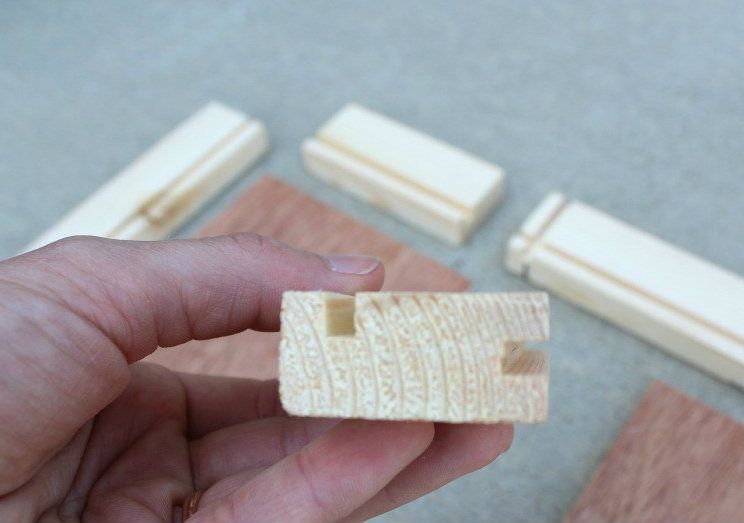
After cutting all of the pieces to size, cut small channels into each piece (as noted above in the cut list) using a table saw. The channels will help the bird feeder fit together snugly and securely as well as look nicer. The deeper the channel is, the more movement before assembly. The tighter the channel, the more stable it will be. After all pieces and channels are cut, you should end up with something similar to the above picture. Make sure to dry fit pieces as you work to ensure that they fit together nicely. It is much easier to correct small issues at this point than when you are trying to glue and nail.
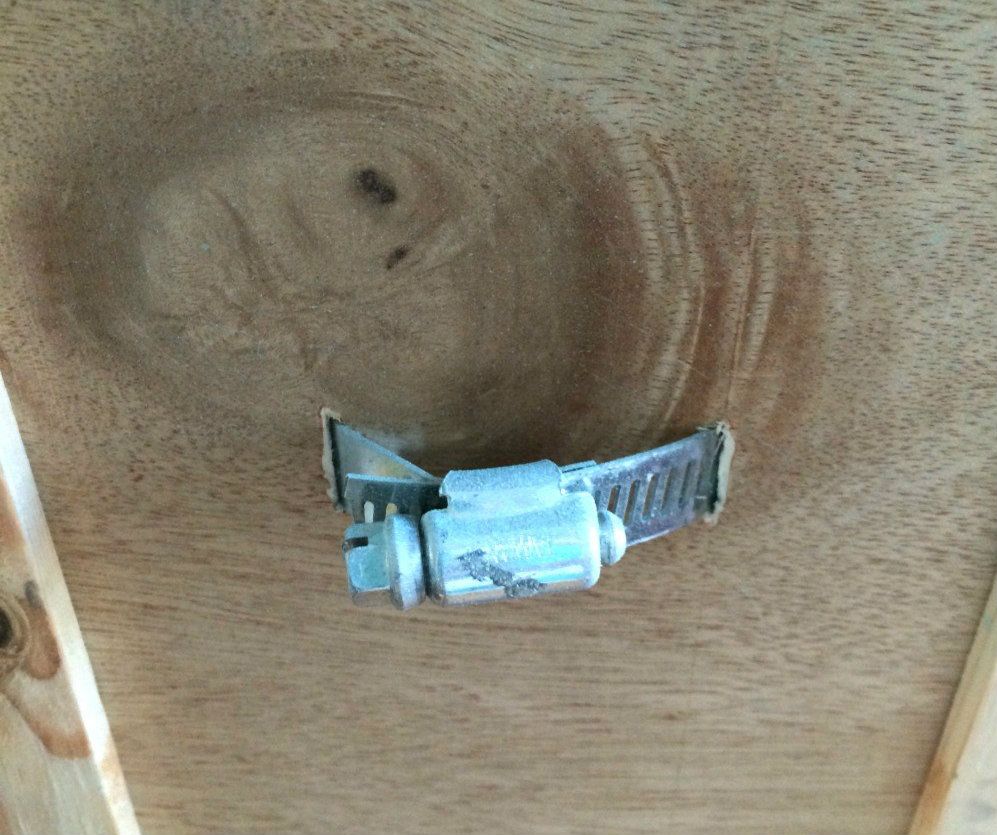
Fit the hose clamp around the wine bottle to measure for size. Using a small drill bit, or a utility knife make openings just large enough for the hose clamp on the back piece of plywood. Insert hose clamp and remove bottle. Here is what the back of bird feeder with the hose clamp:
Once all pieces have been cut and you have dry fitted them, it is time to start assembling the bird feeder. Add a small amount of glue in the channel of each piece and then added a brad or two. Use wood glue for longevity of the bird feeder. Do not glue the roof onto the feeder. Simply attach the two roof pieces together and they should be able to snugly fit with the channel. You need for the roof to be removable in order to refill the bird seed.
Fill the wine bottle with bird seed and set in clamp. Tighten if needed and set roof on. You can hang the bird feeder directly onto a fence post or add a rope or ribbon and attach it to a tree limb.