How to make reversible flannel receiving blankets
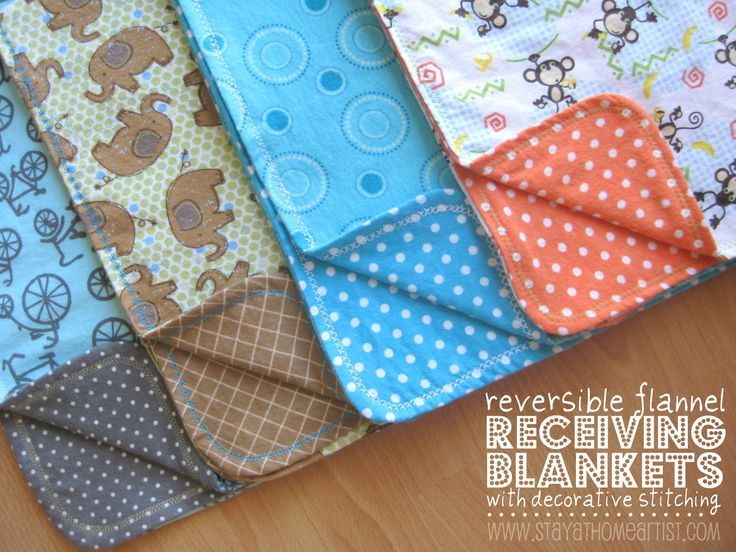
How to make reversible flannel receiving blankets – I’m going to do this because EVERYONE I know is having babies!!
To make one of these little blankets, you will need:
- 1 yard of flannel for the front
- 1 yard of co-ordinating flannel for the back
- thread (preferably in a fun, contrasting color)
- rotary cutter or scissors
- sewing machine
- pins
- small round bowl or plate
Next, cut your fabrics into squares. Since your flannel is 44″ wide and 36″ (1 yard) long, ideally you would end up with 36 x 36″ cuts…but oftentimes you’ll find they cut your yardage very crooked at the cut counter. And if you pre-washed, you’ll have some shrinkage. So once I squared up my fabrics, each of my blankets were more like 32 x 32″–some a little smaller, some a little bigger.
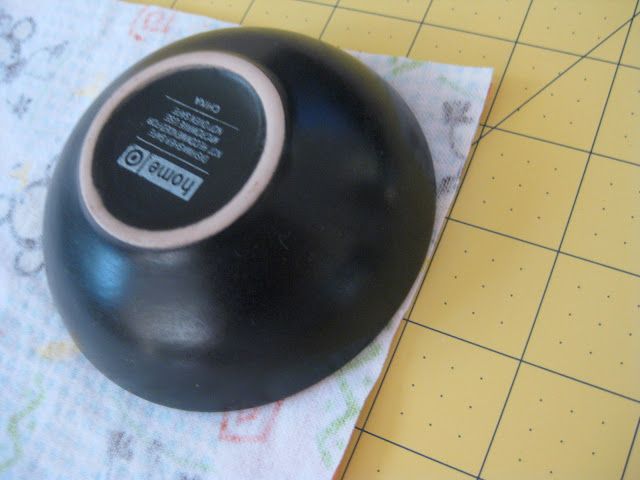
You should have 2 squares of flannel cut to the same size. Make sure they are right-sides together. Take your little bowl or plate and place it in the corner…
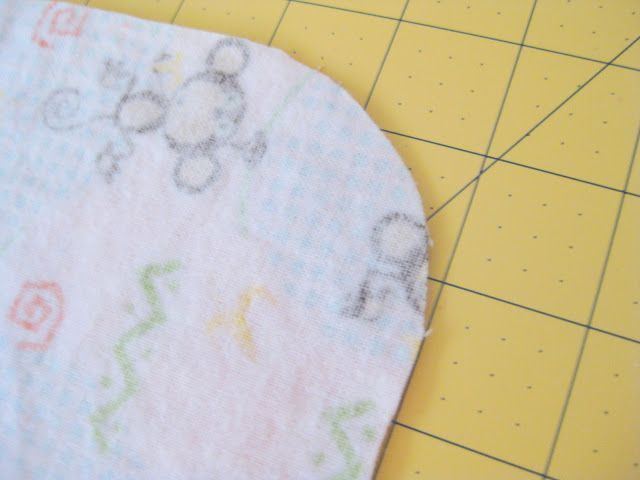
Now use your rotary cutter to trace around the bowl and round off the edge. If you don’t have a rotary cutter, just trace the curve with a marker and trim it off with your scissors. Repeat for each corner.
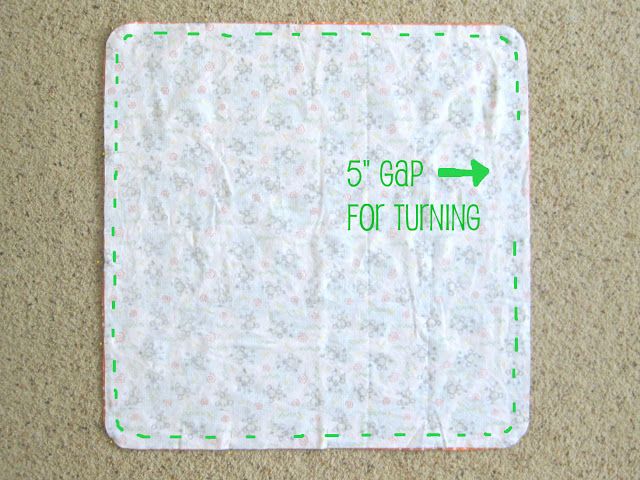
Pin your two layers together, then head to your sewing machine and straight stitch all the way around using 1/2″ seam allowance, leaving a 5″ gap for turning.
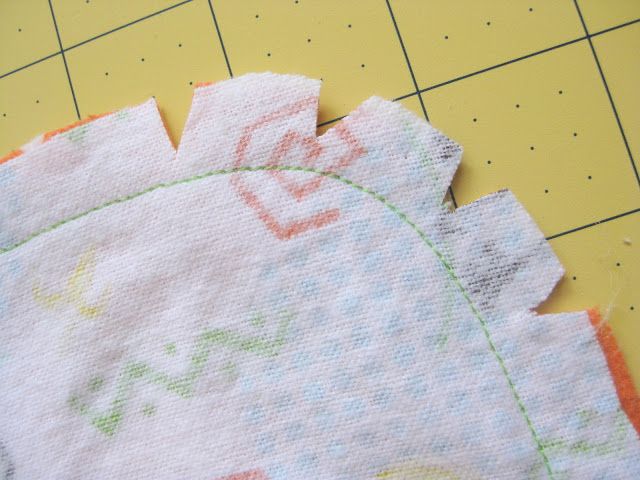
Clip all of your curved corners to reduce bulk.
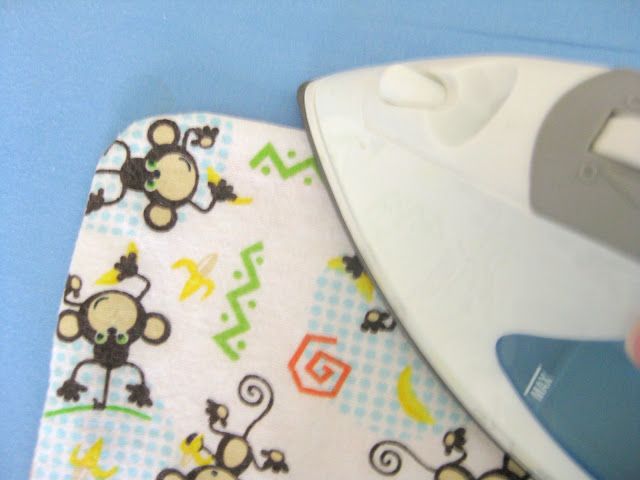
Reach through your 5″ gap, turn the fabrics right-side out, and poke out the corners. Use your iron to press the seams nice and flat, making sure the edges of your gap are pressed evenly with the rest of the seam allowance.
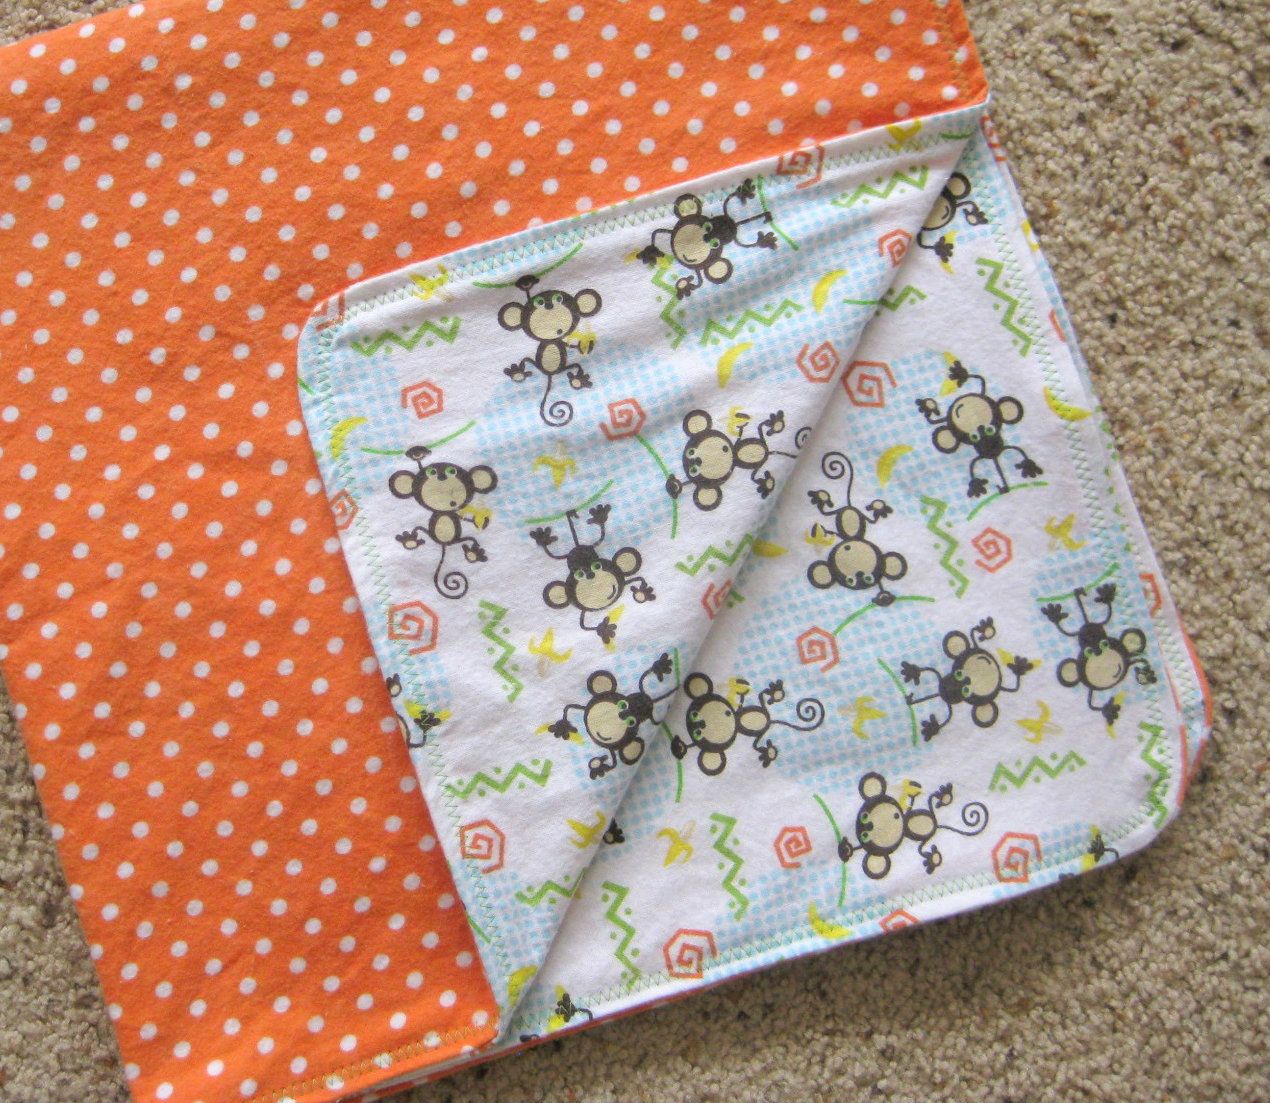
Now we’ll top stitch around the entire perimeter to close that gap and finish off the blanket. Choose a zig zag, scallop, or other fun pattern just to add a little interest.
Full tutorial Her
