DIY enclosed raised bed garden. Step by step. Very nice!
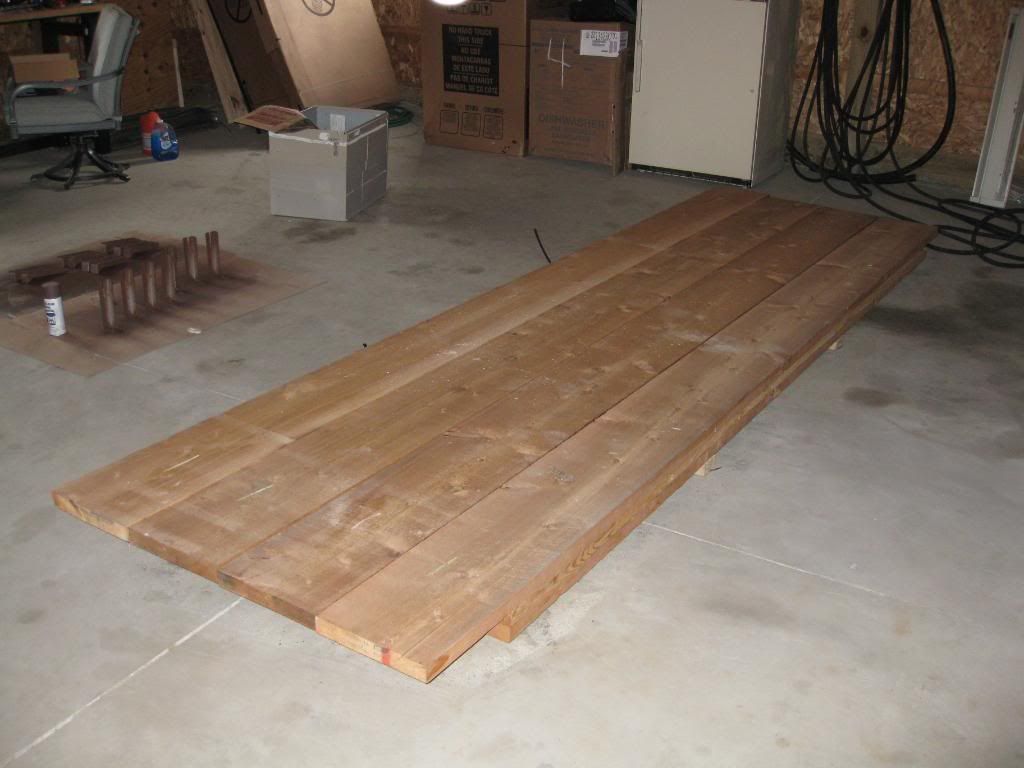
After determining (from the drawings) how much wood I would need, I contacted the local lumber yard and made arrangements for the cedar to be delivered. I also decided to use treated lumber (ACQ) for the uprights and stringers since they would not touch the soil. The delivery guy managed to get it into my pole barn (out of the weather). See pic below of the cedar after I removed the treated lumber stacked on top.
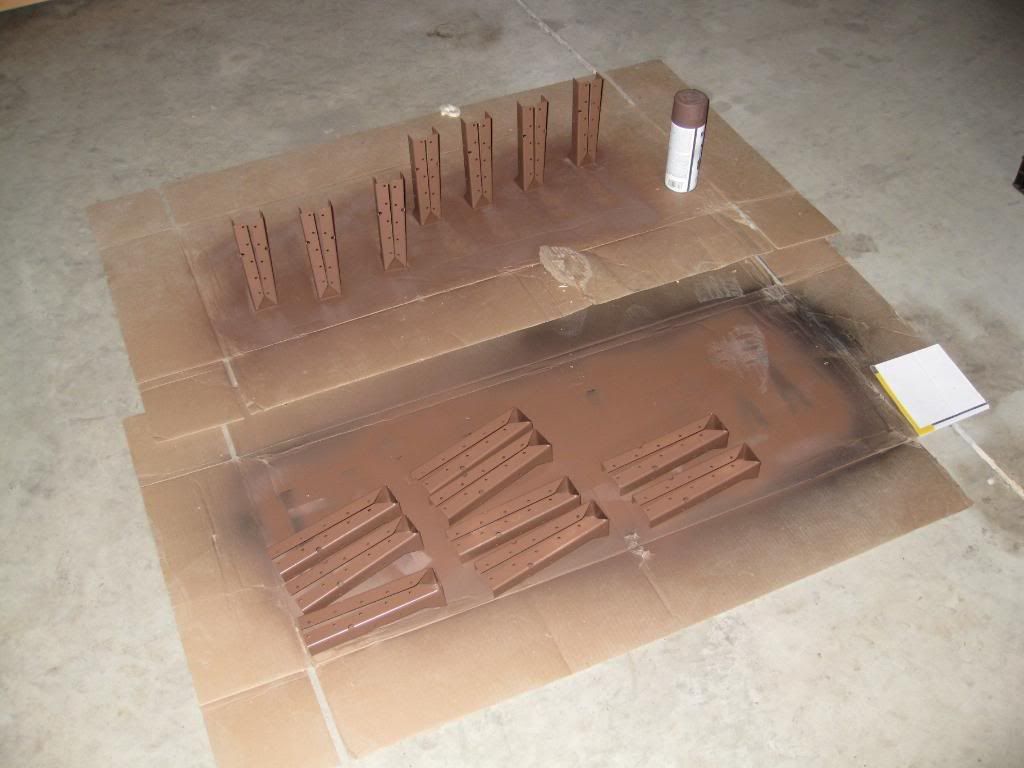
I also decided to paint the joist and corner brackets, as well as the carriage bolts, for aesthetic purposes only:
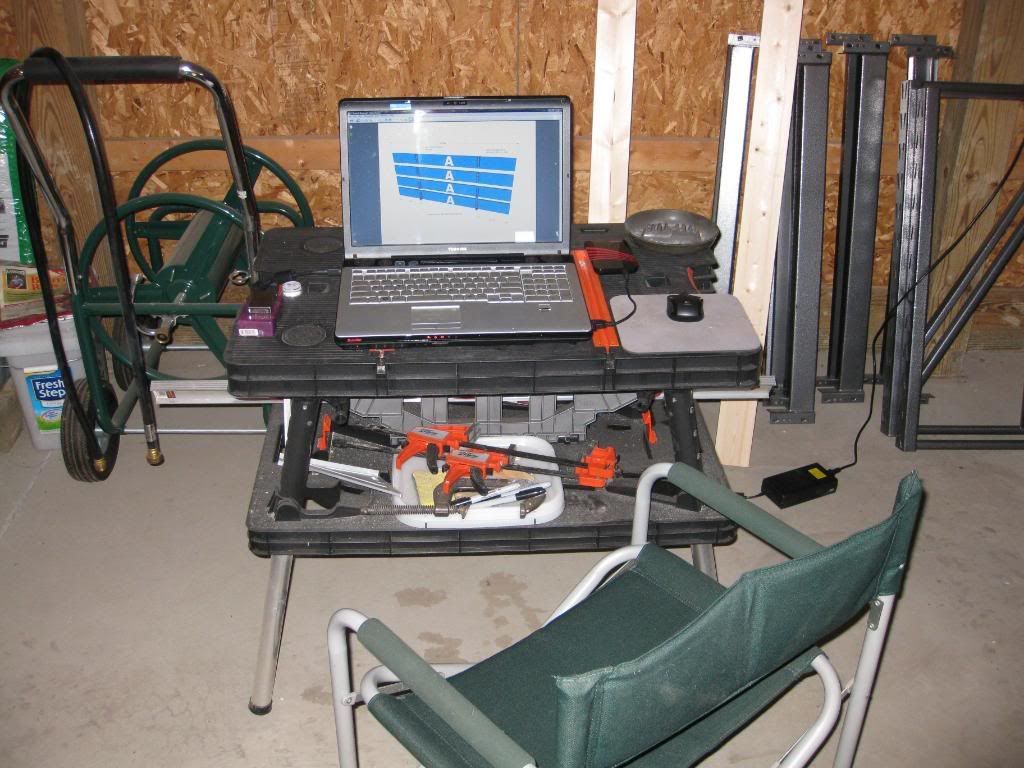
Here was my “command and control” center while I was working on this. Do you recognize the drawing??
My plan called for removing the first 23 inches of 1/2 of the 4×4’s so they could be mounted to the bed siding (like taking a notch out). Some people would like to bury them in concrete, but I did not see much benefit.
Because my circular saw only cuts to 2-3/4″, and the posts are 3-1/2″ thick, I had to draw a line down the center of each post (for each of my 23-1/2″ cuts), make one “ripping” cut with the circular saw (using it’s built-in guide/fence) then flip the post over and make a second cut along the same line. The final cut is made perpendicular to the first two, right at the 23-1/2″ mark:
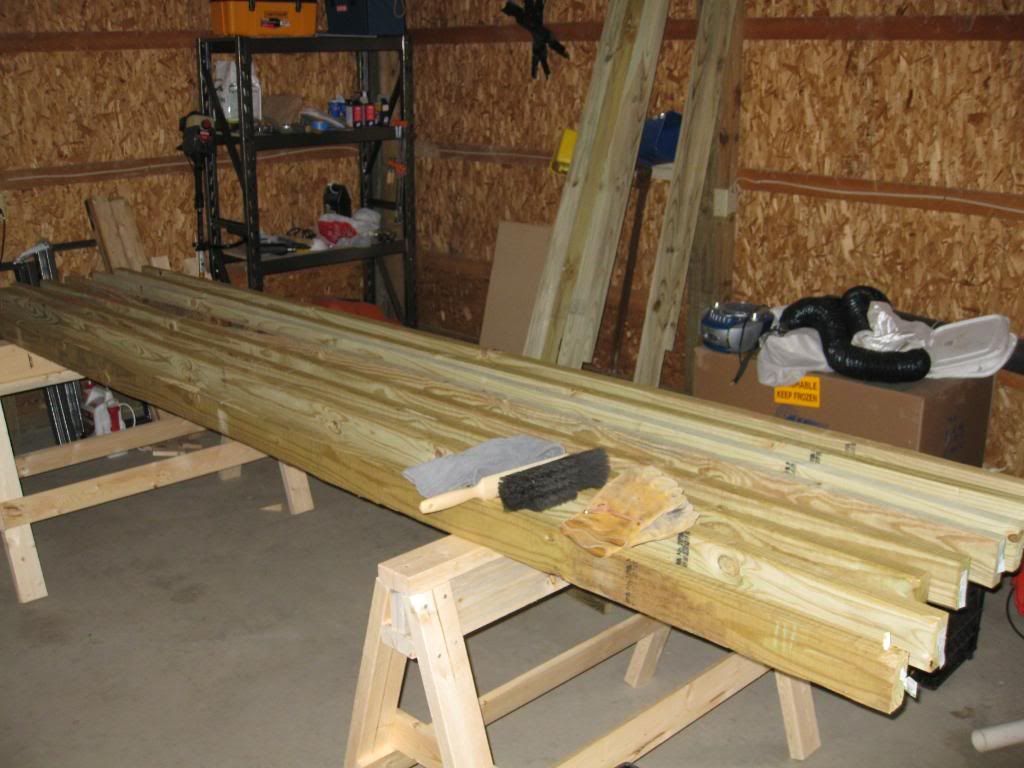
Then cleaned them up by making a fixture and using my router for touch up:
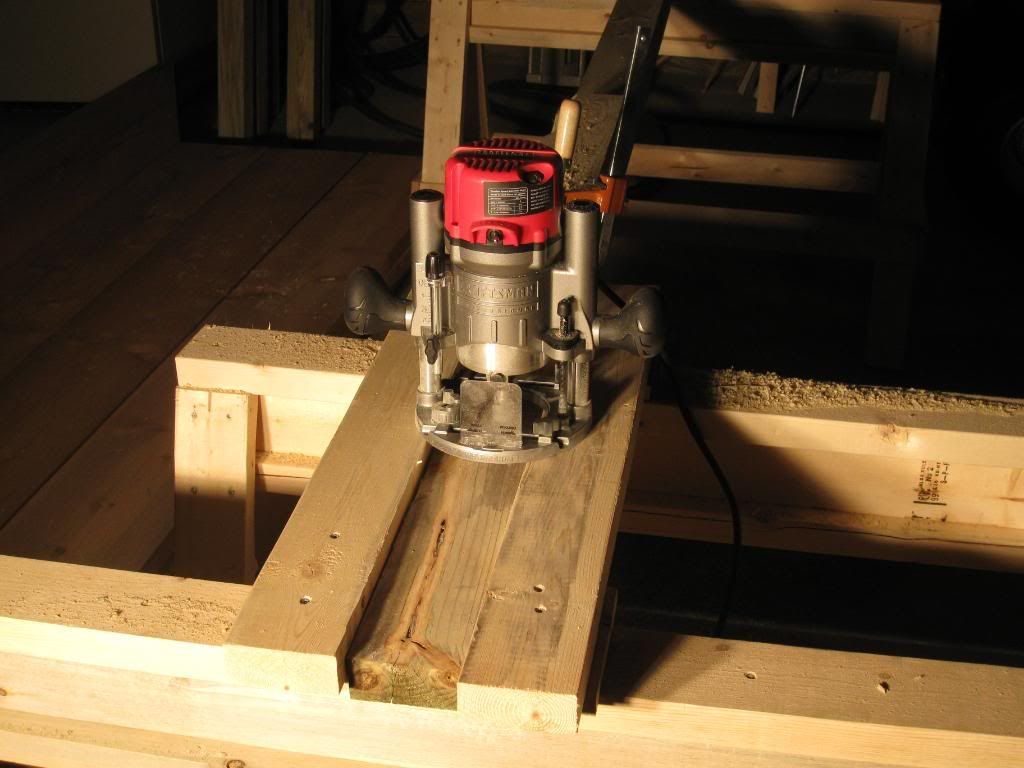
Not “perfect,” but it will certainly serve my purposes. After trimming and cleaning these up, I set all nine posts aside to work on my cut list and installing joist brackets.