25 diy hair wrap ideas
Hair Wrap Tutorial

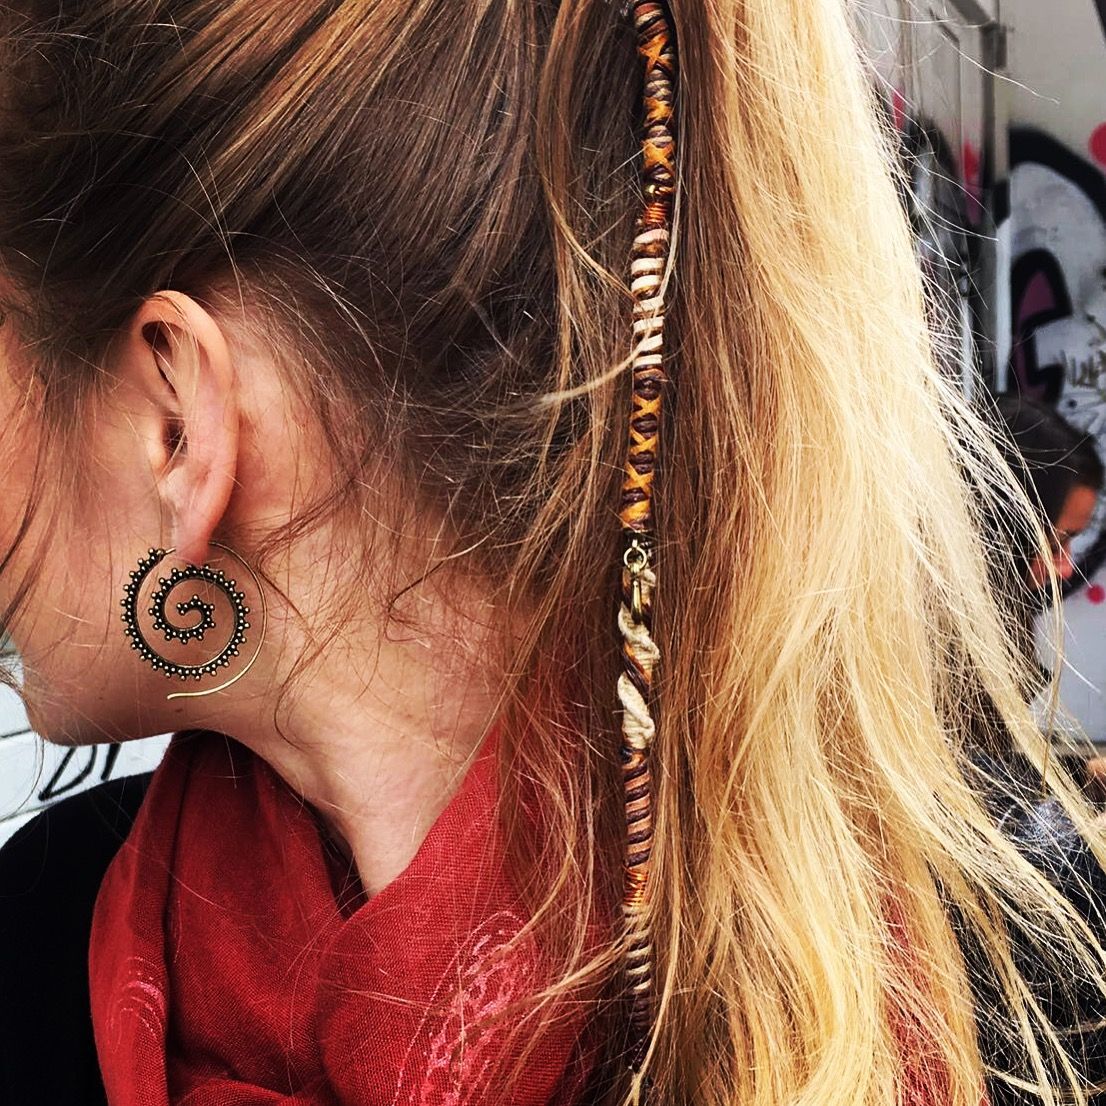
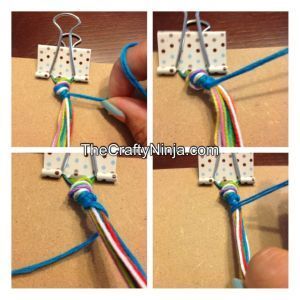
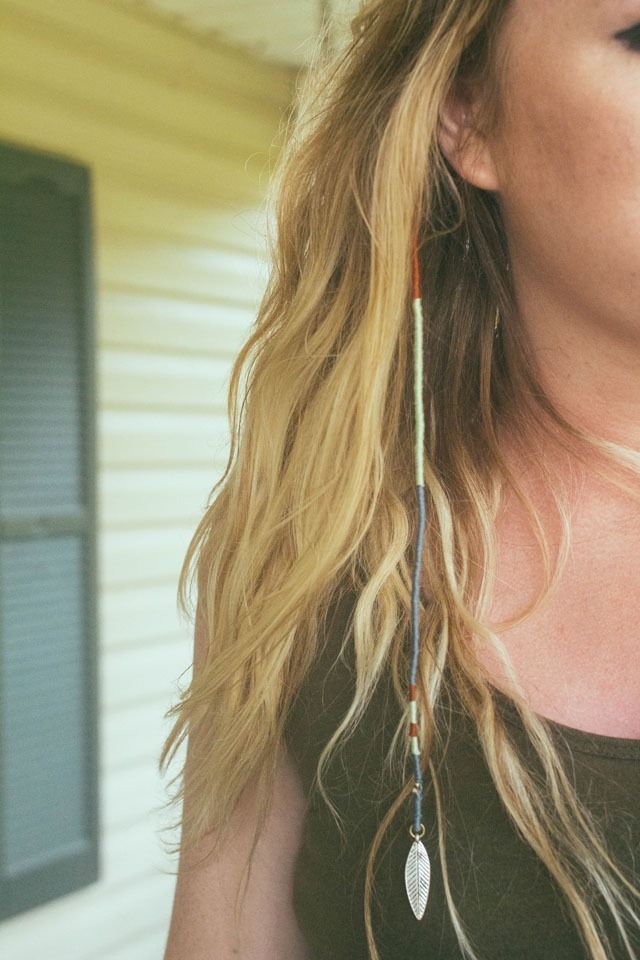
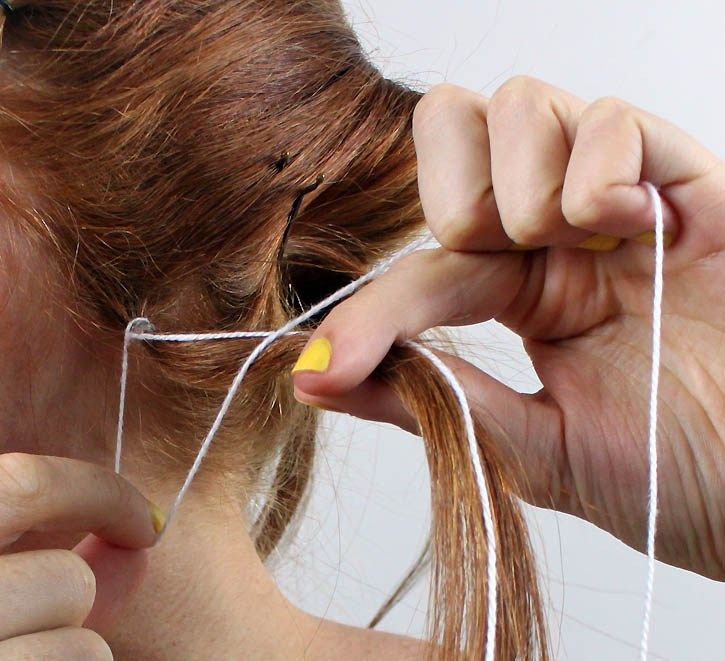
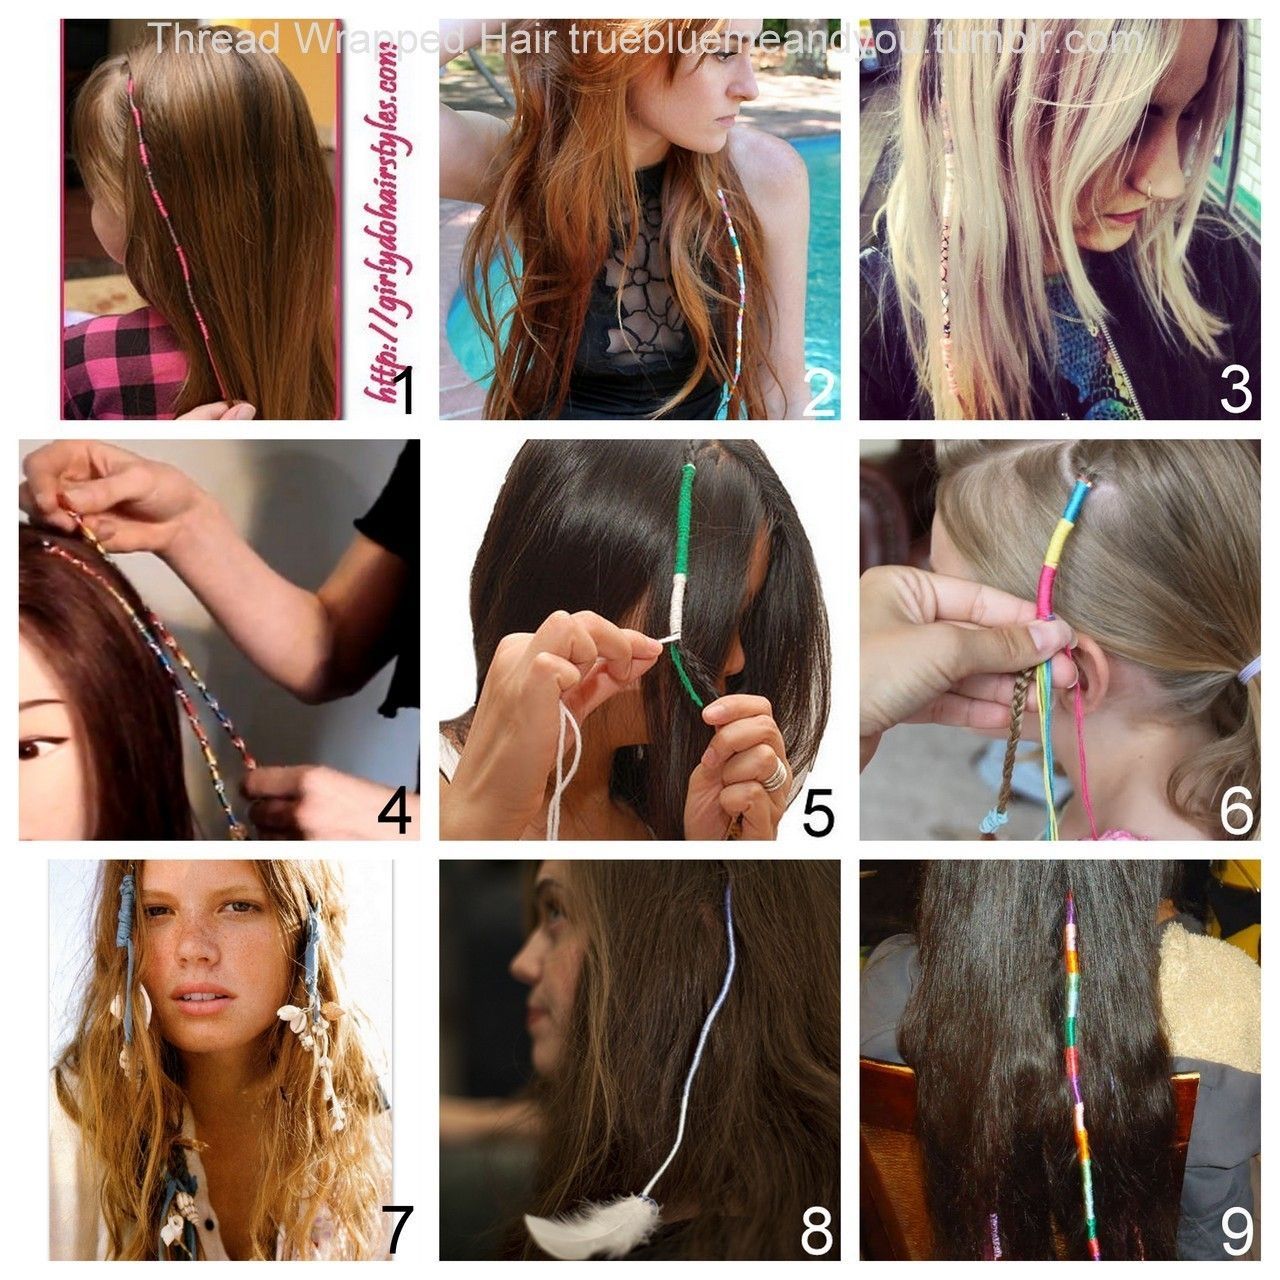
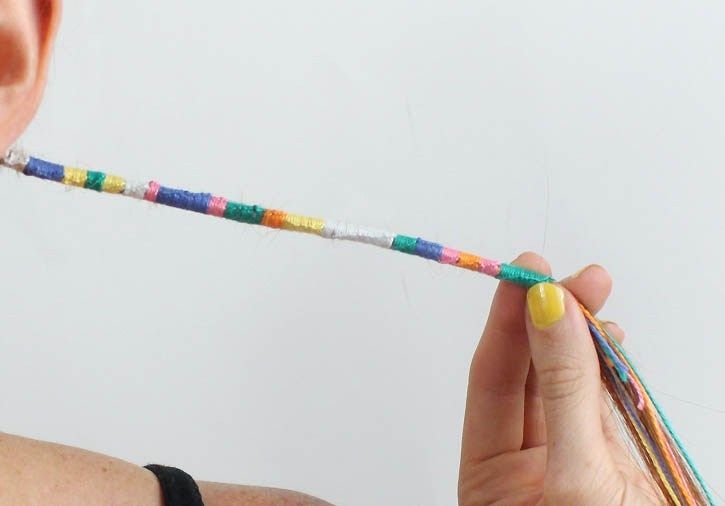
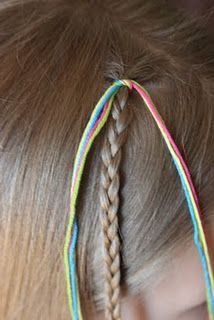
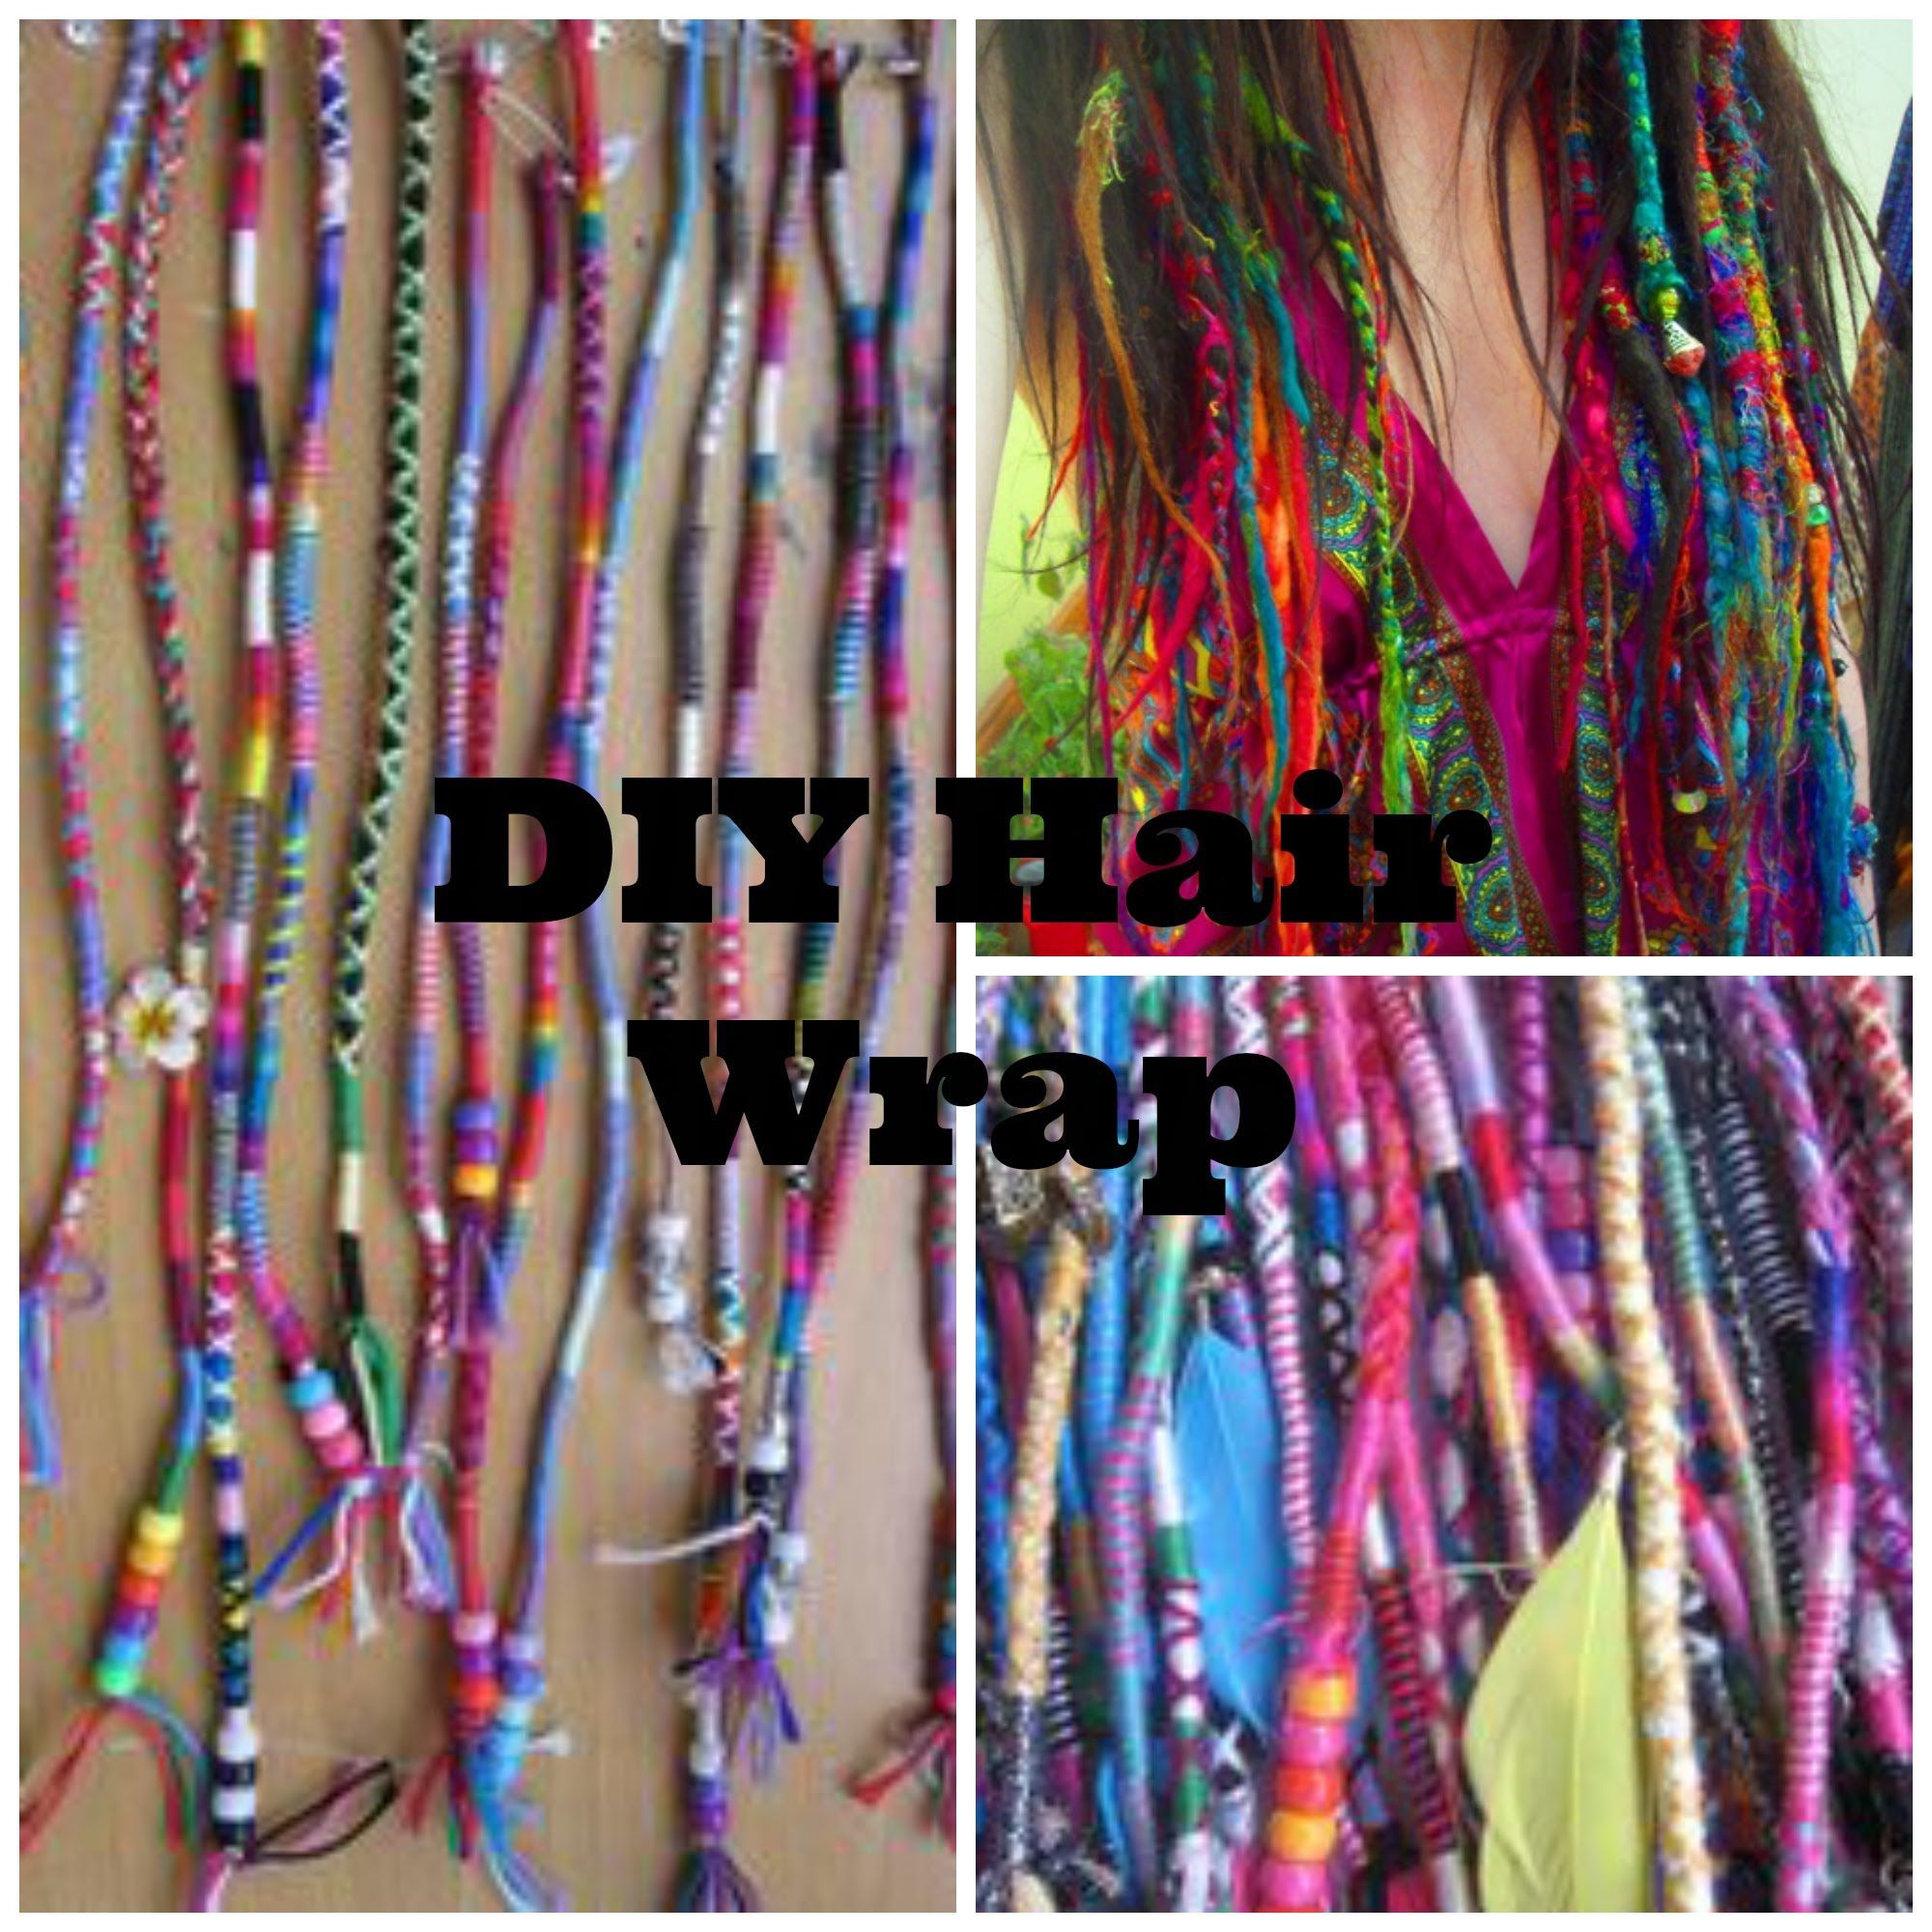
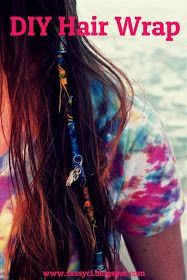
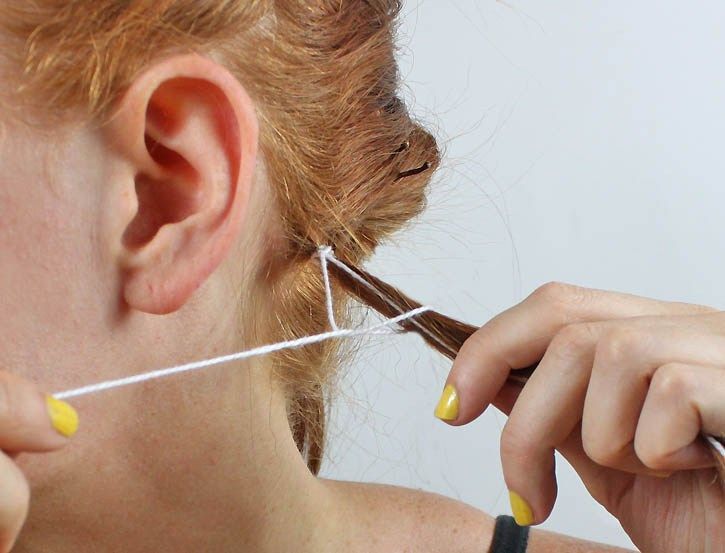
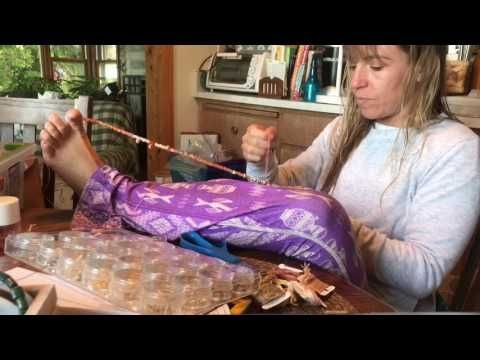
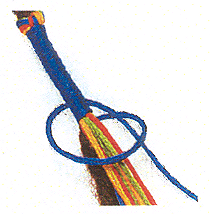
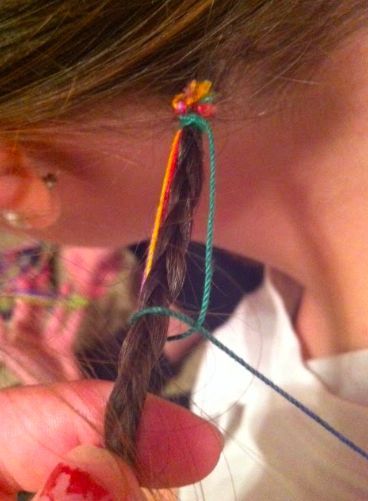
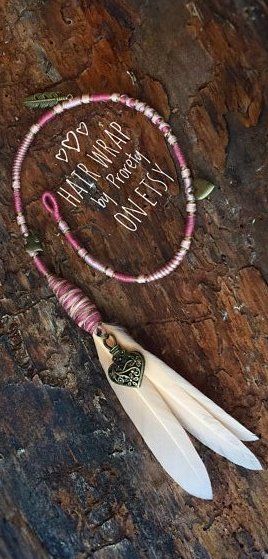
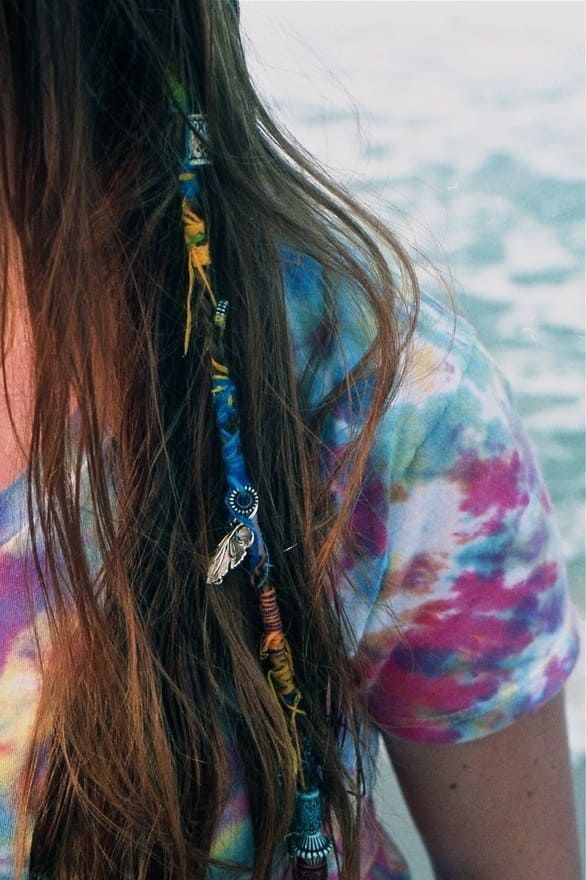
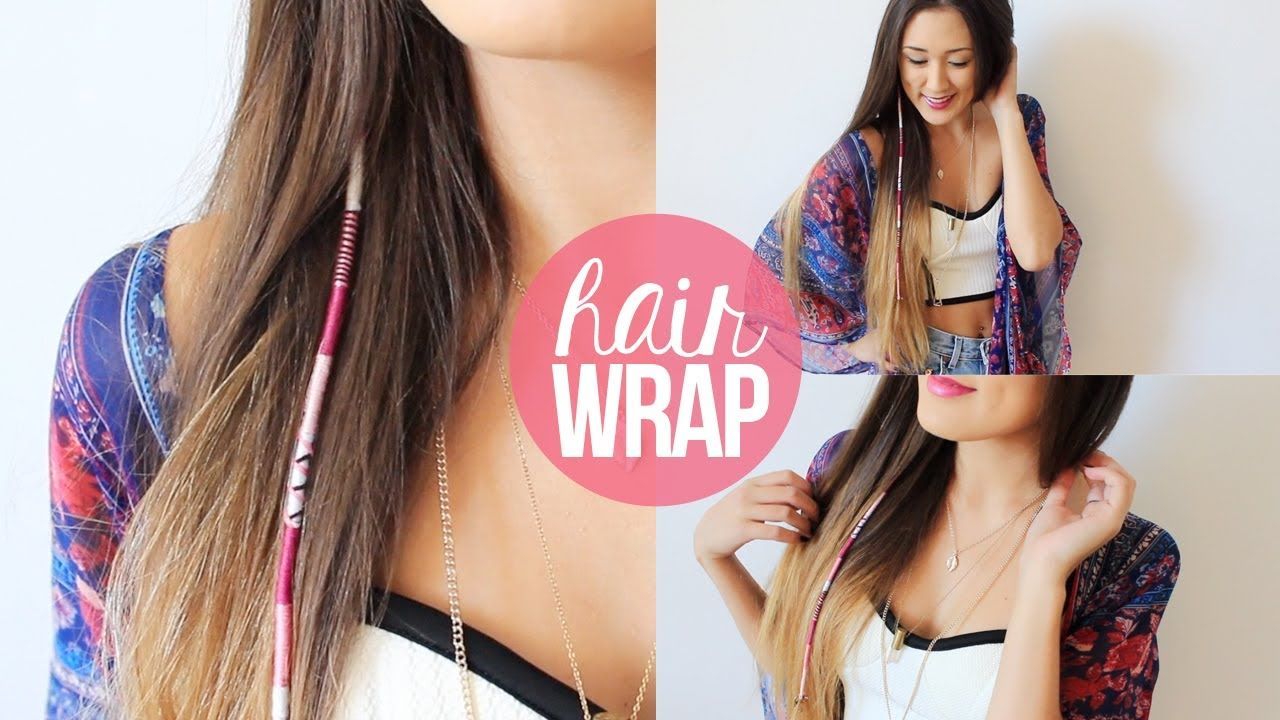
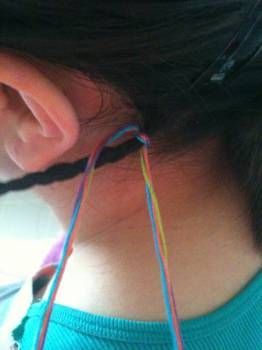
One night on a whim, I made myself a hairwrap. You know, the ones you used to get at the beach when you were younger and paid a high price for? Well after my post on Instagram there were a lot of requests on a tutorial…so my friends Maegan & Darian volunteered to help me out! Maegan actually taught me how to do hairwraps originally, so it was nice of her to let me give her one this time:) Materials: embroidery floss, charm (optional), scissors First, take a small section of your hair and braid until the end, you may want to damp the hair with water to make it easier to braid. Cut three strands of embroidery floss that are twice the length of your hair. Tie the strands to the top of your thin braid. Holding two strands to to the braid, begin to wrap one color around. Keep wrapping until you reach the desired length on the one color. Switch colors by grabbing the next color and holding down the two colors to the braid. Keep wrapping and switching colors until you get to the end. Once at the end of the braid, thread on your charm and wrap the hair and embroidery floss upwards, this will make a loop. Tie off and knot a few times. Try changing it up and try out different colors and patterns!