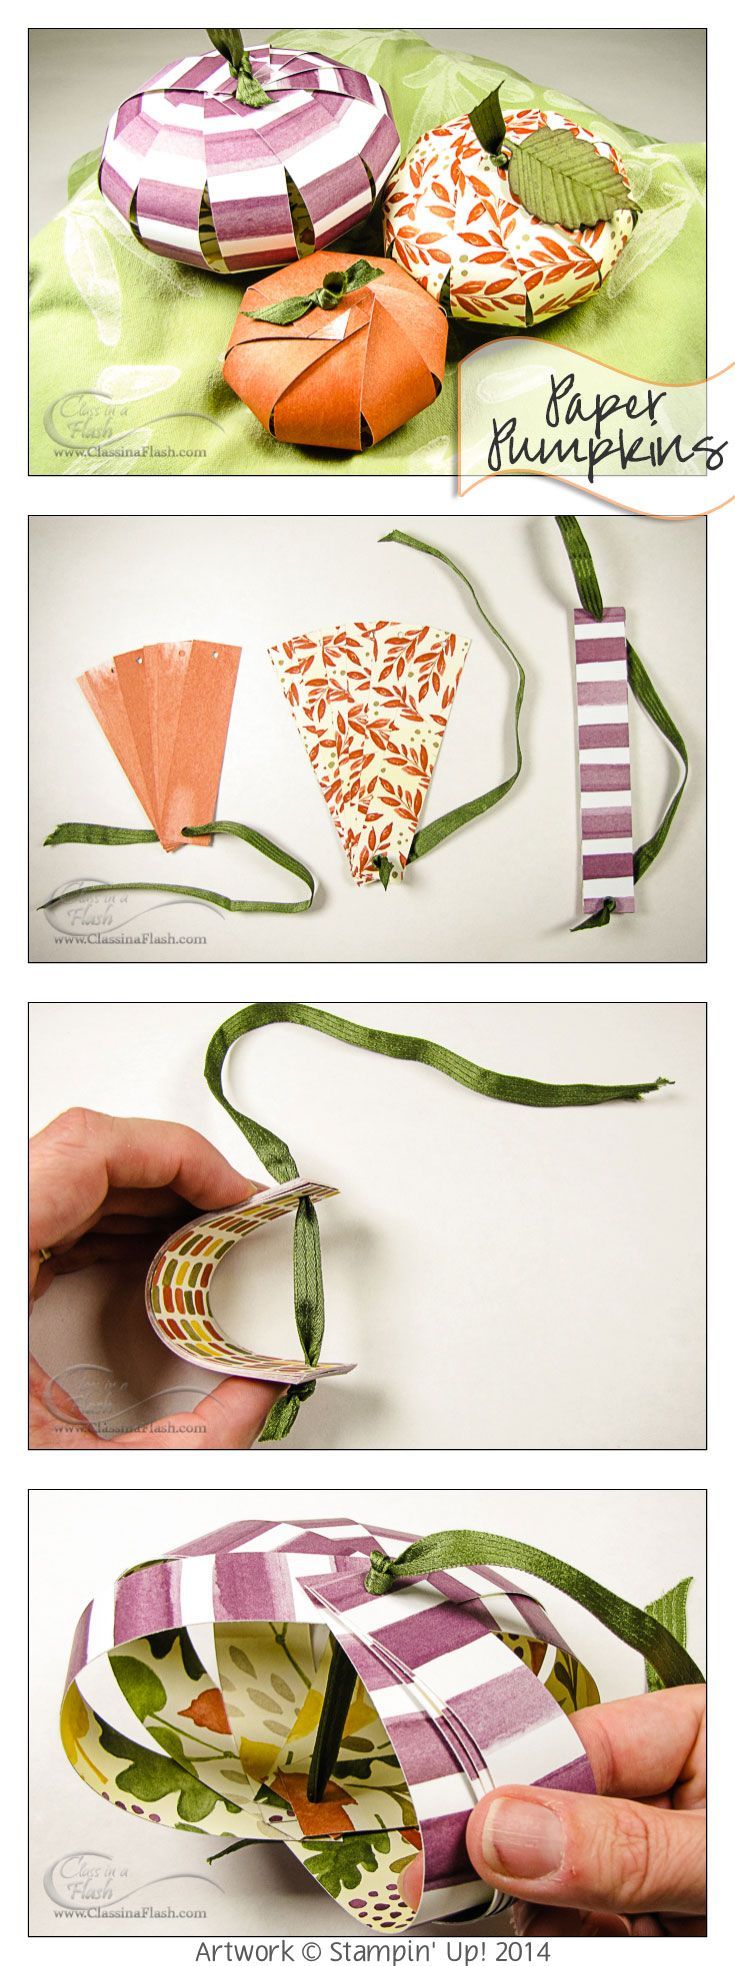
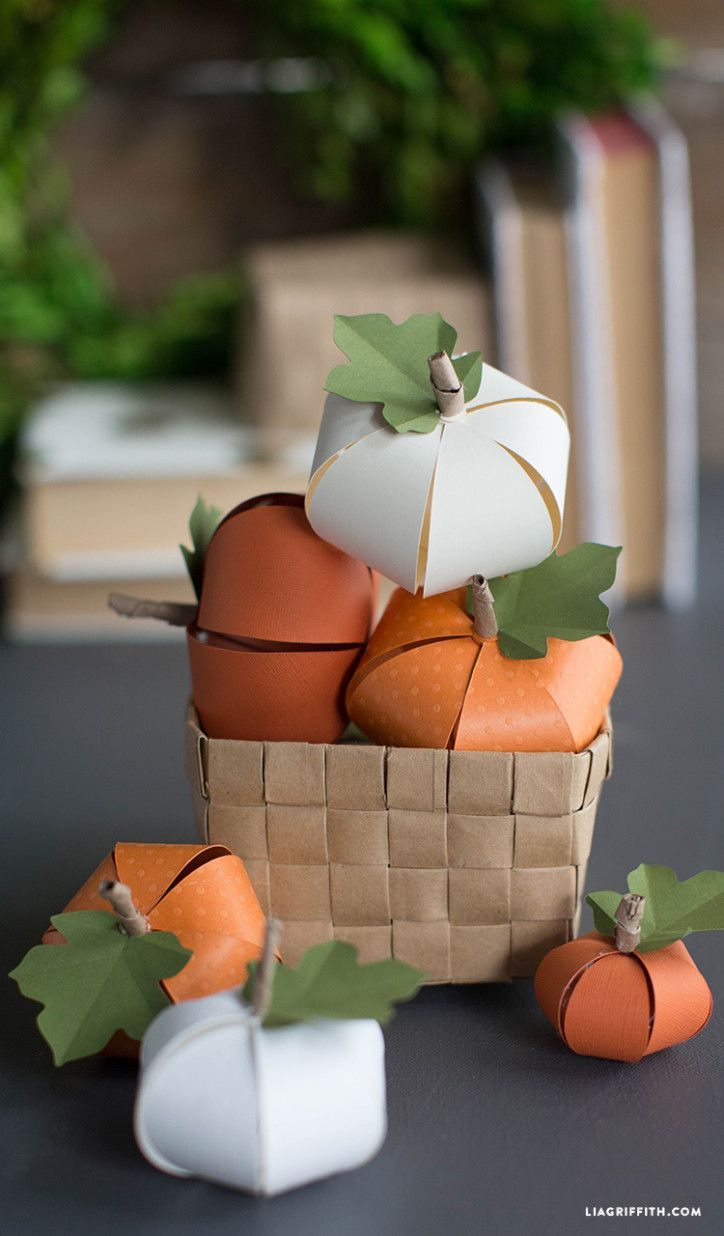
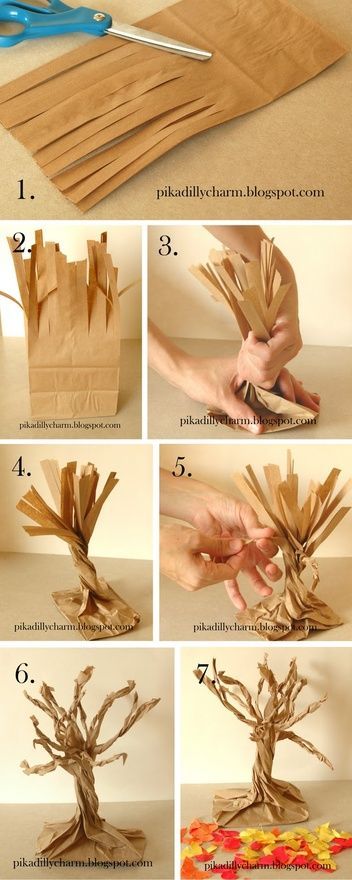
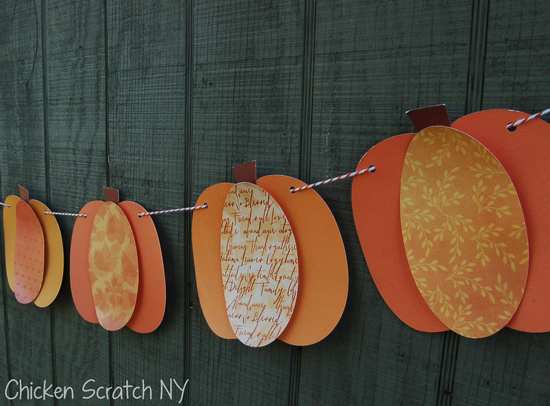
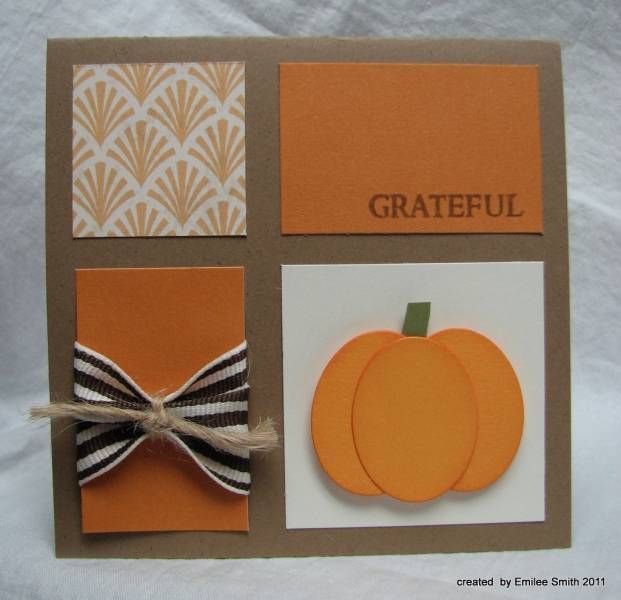
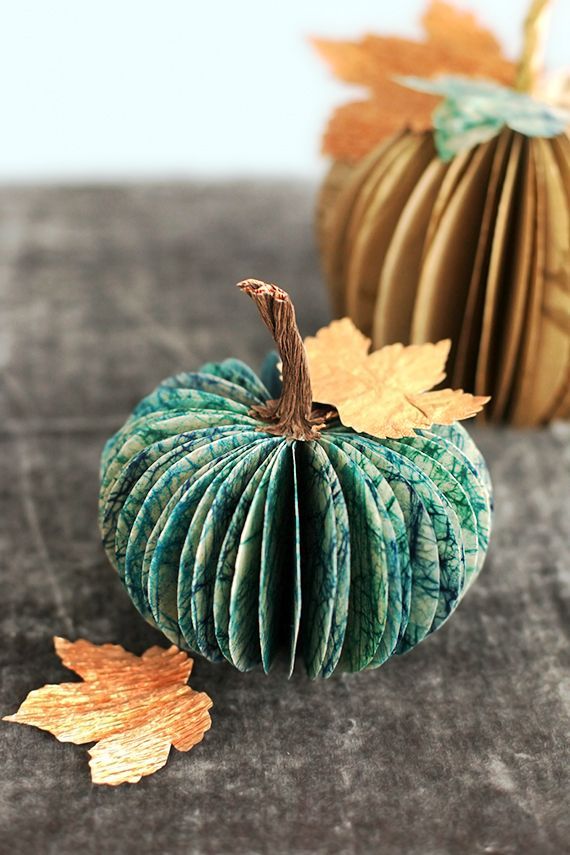
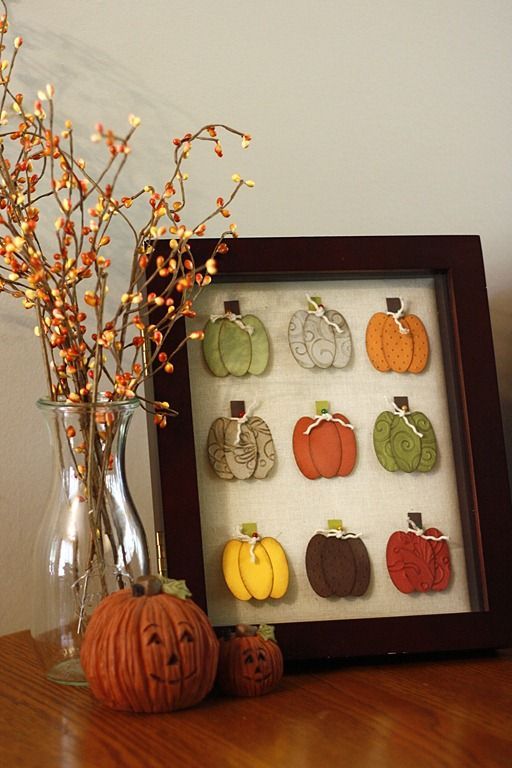
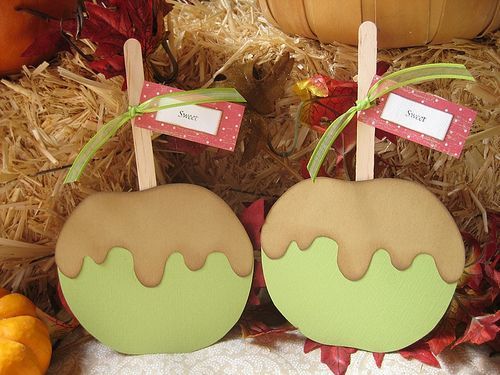
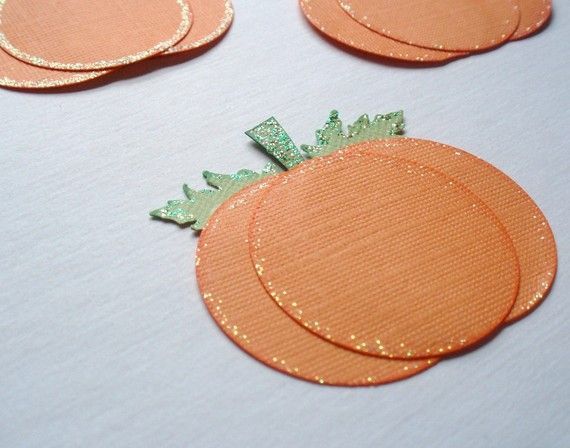
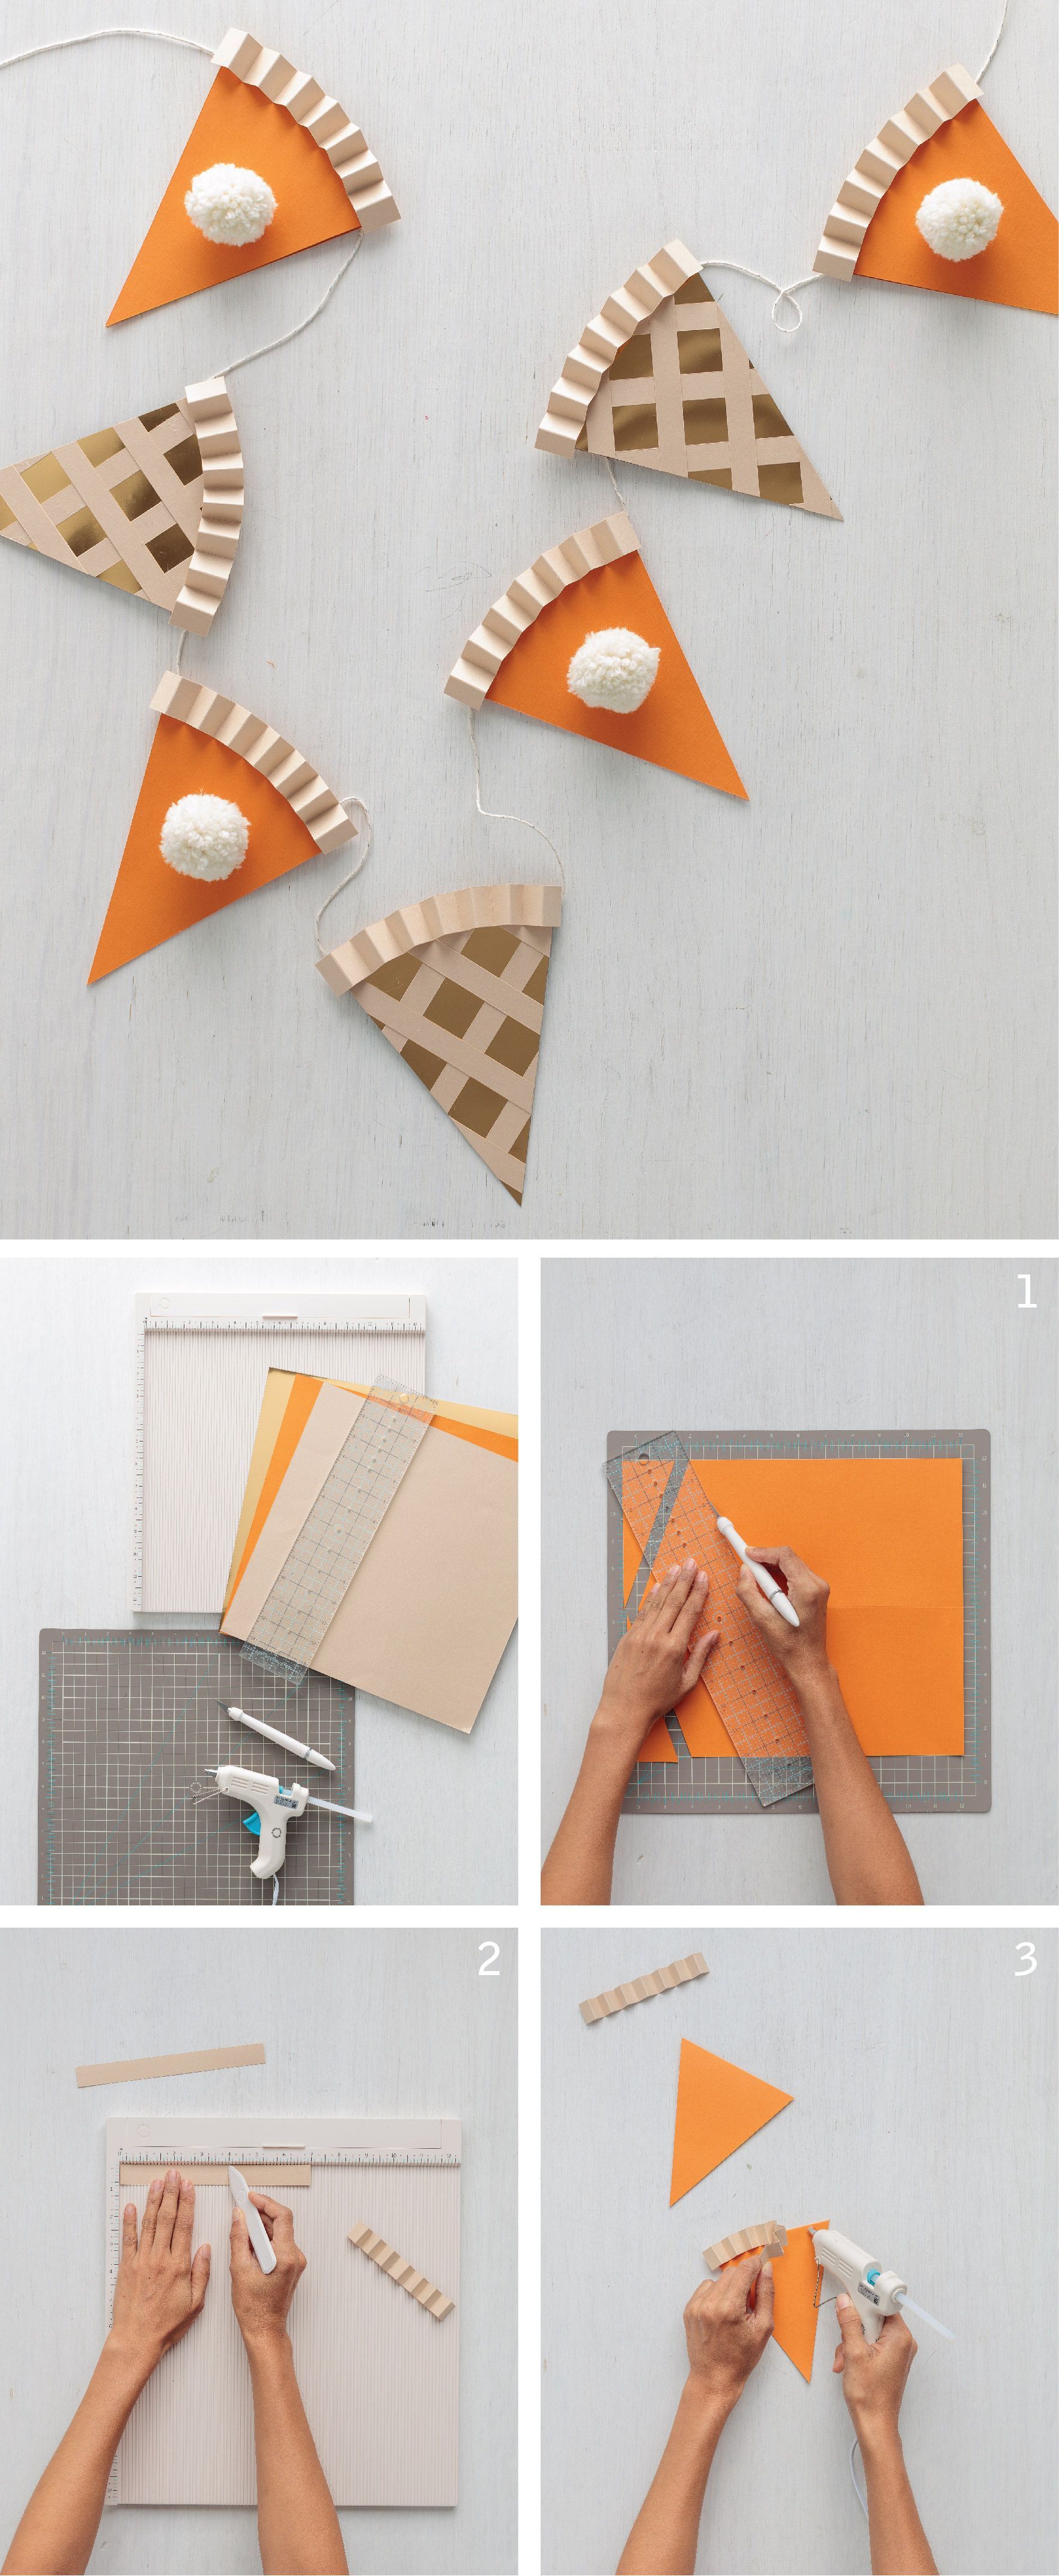
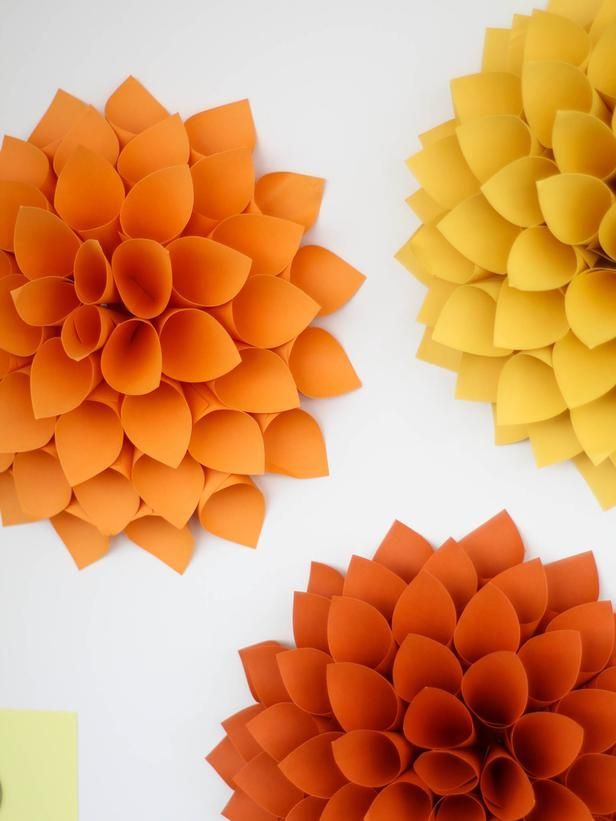
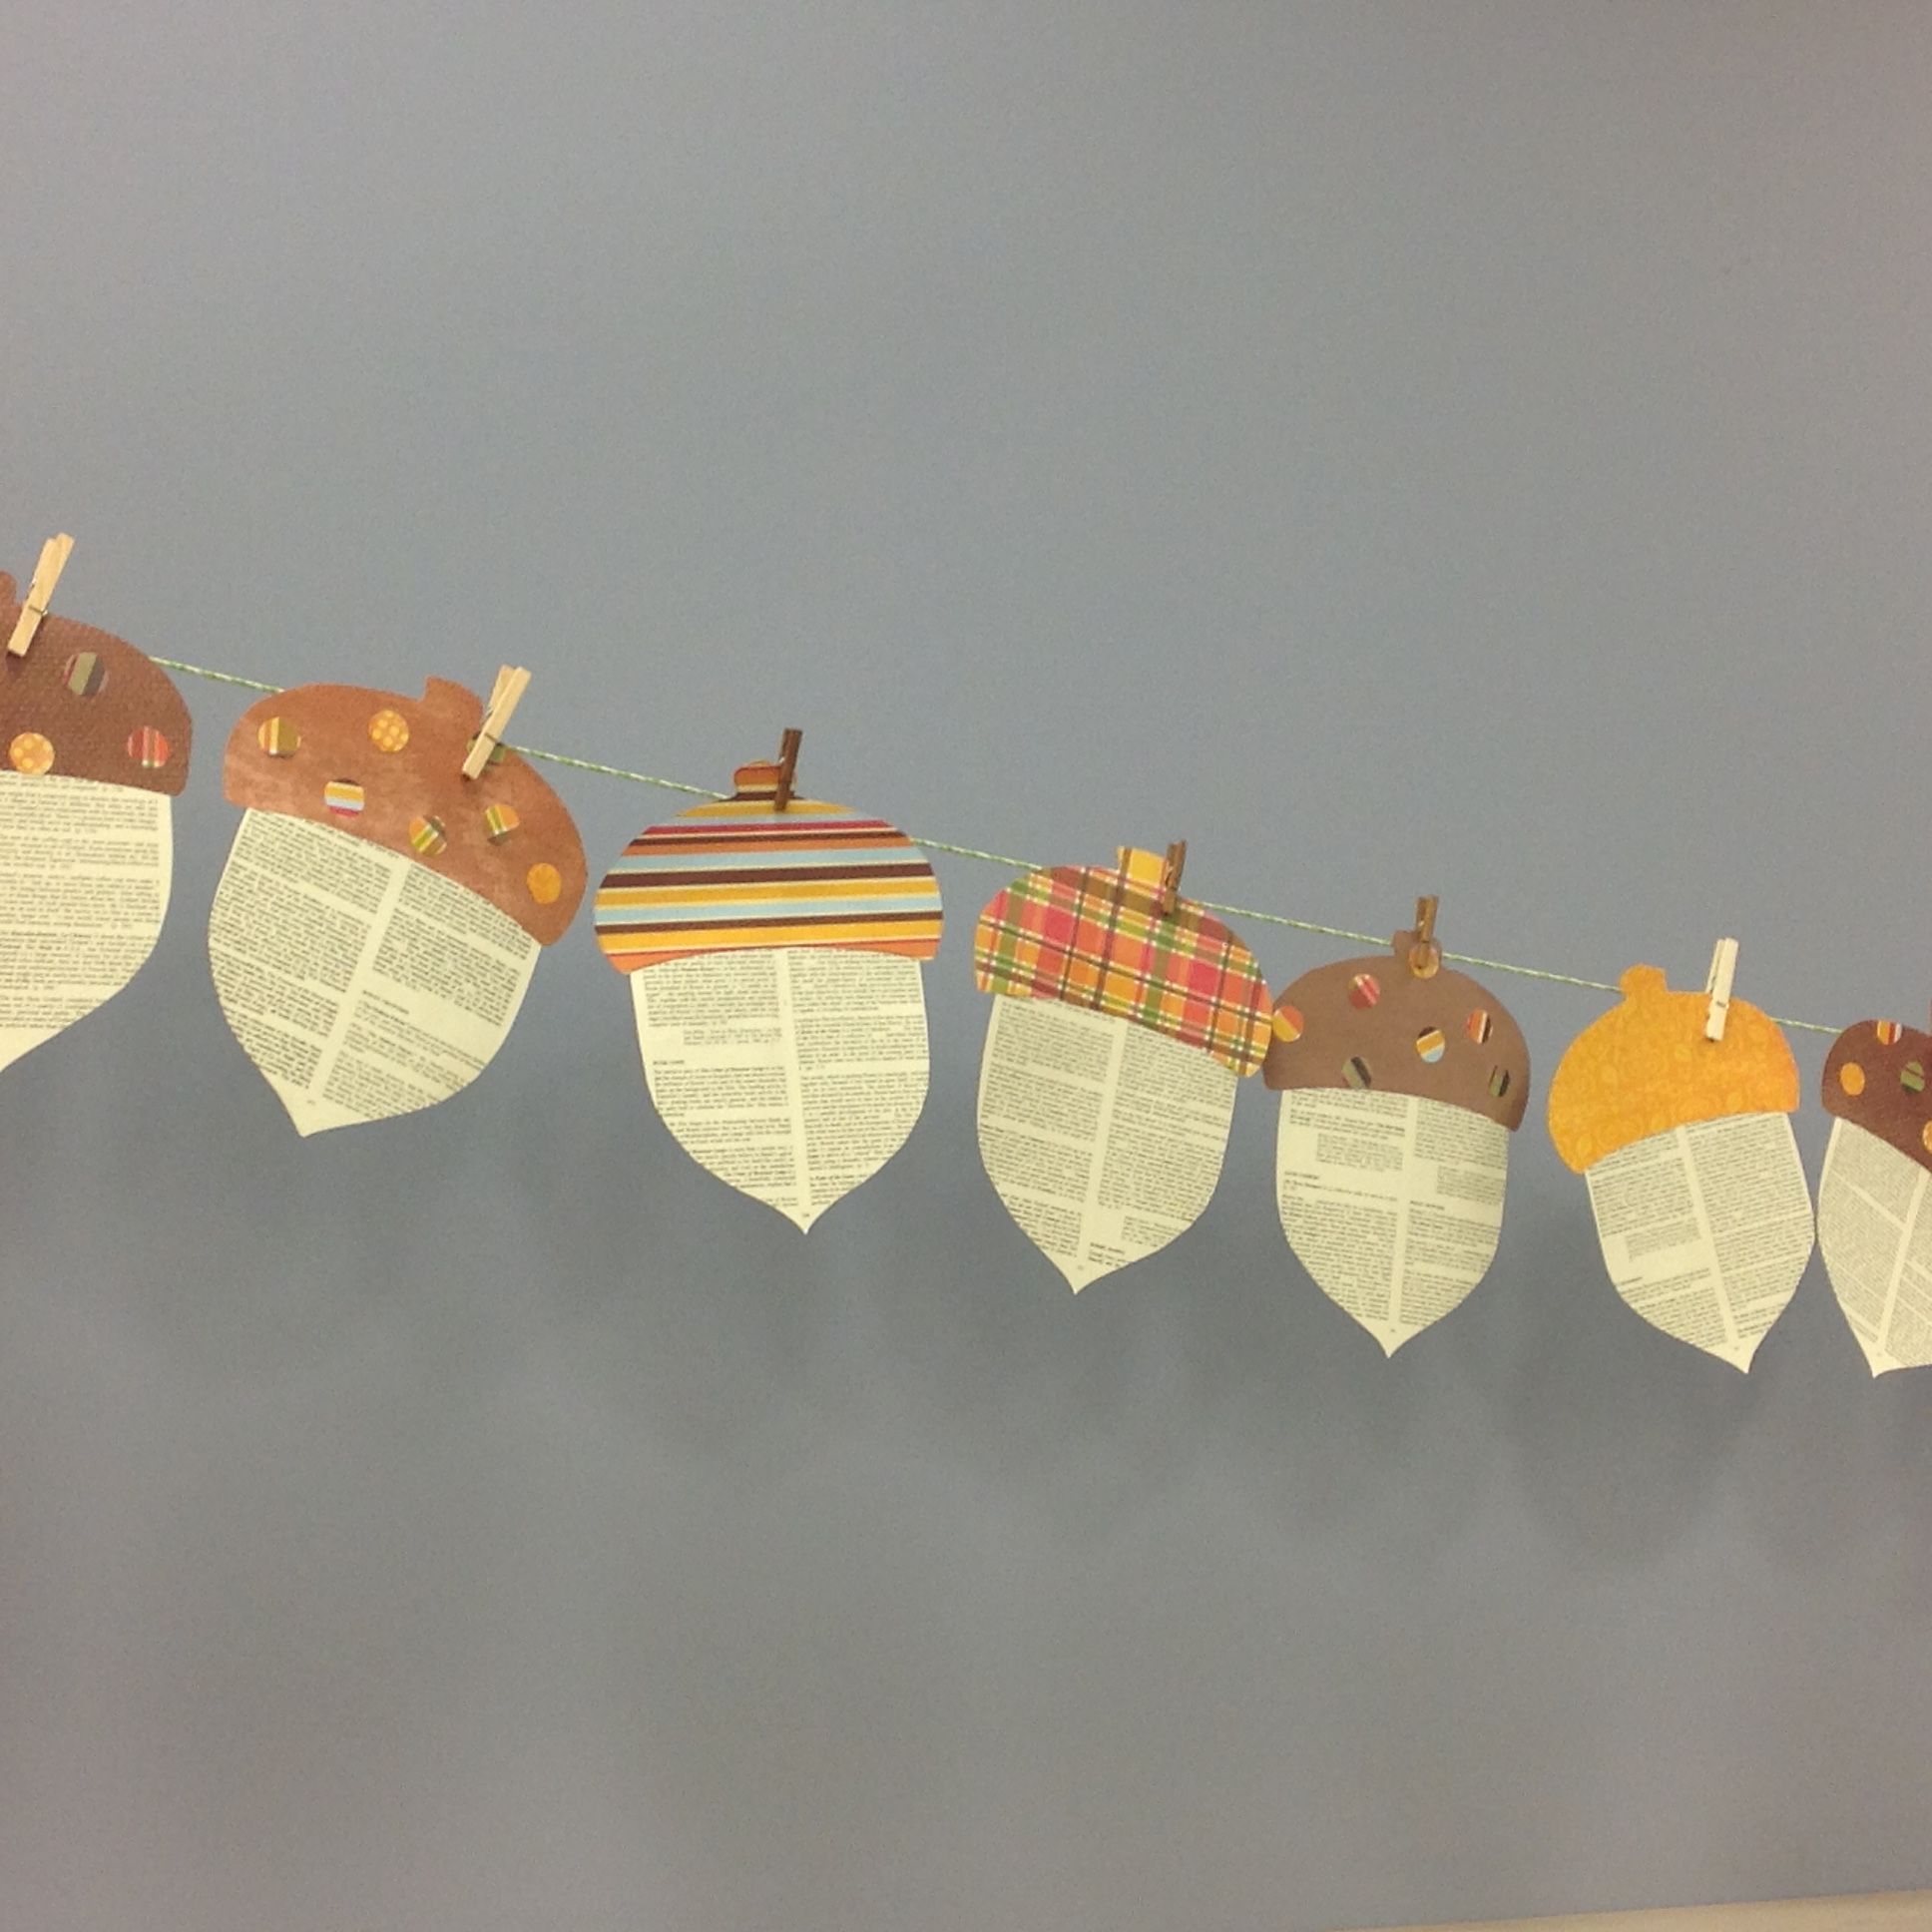
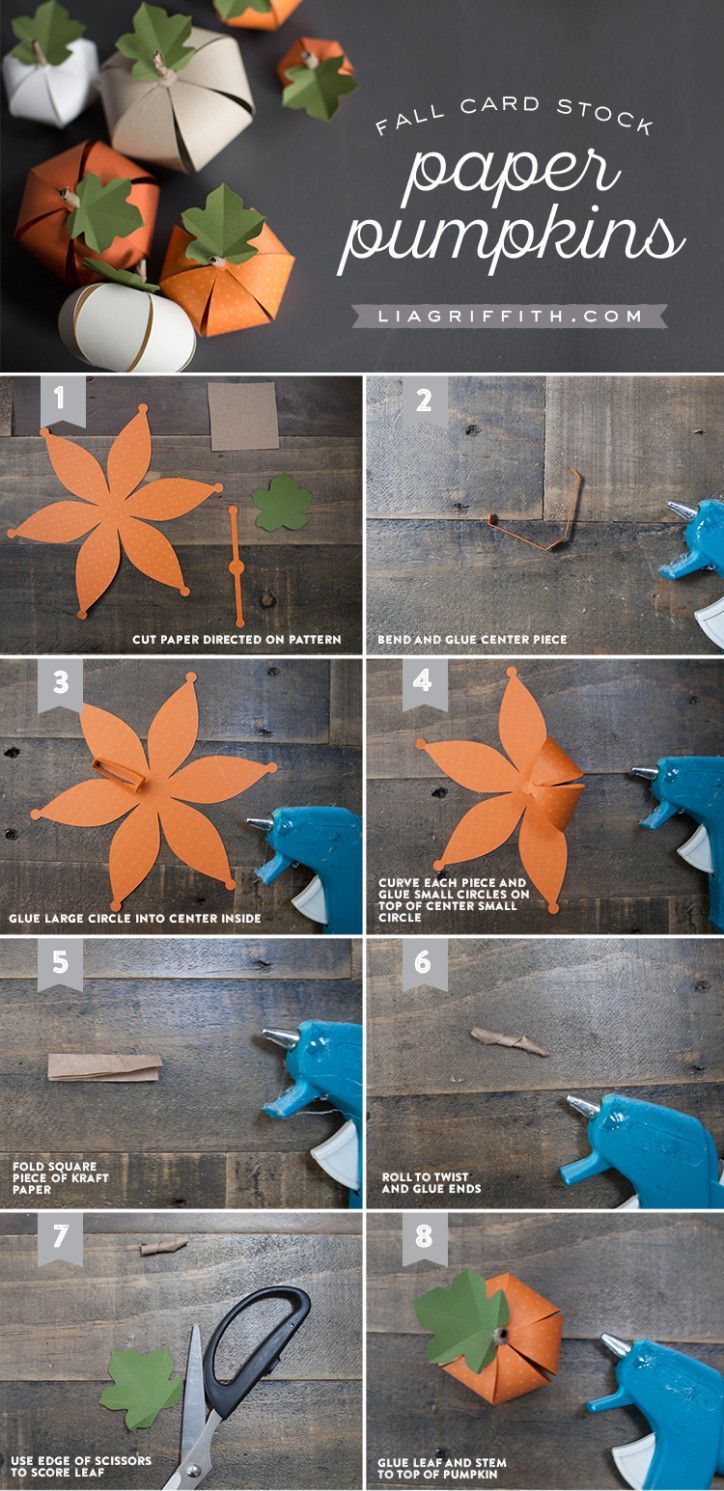
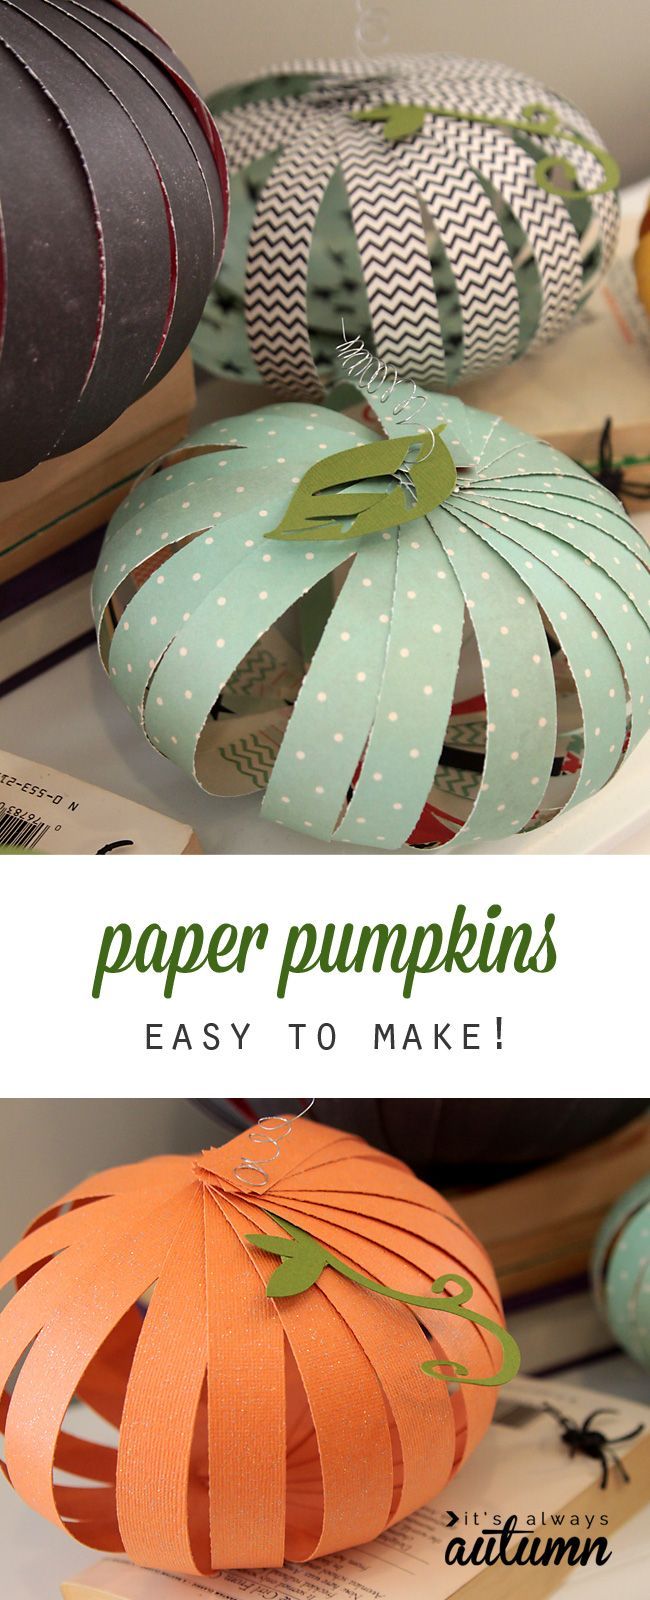
24 fall paper crafts ideas
Paint Chip Bookmarks

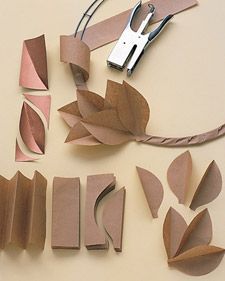
Bookmarks made with Paint chips- Fall Crafts I made these really cute, ‘Tree for all Seasons’ bookmarks yesterday and had to share them. I was inspired to make these after I saw the Paint Chip Valentine’s bookmarks on Pinterest from the blog oldtownhome.com. I thought the Valentine’s bookmarks would be great for my son’s 2nd grade class. Pink paint chips with hearts for the girls, and I decided I’d make a blue bookmark with stars for the boys. (See above picture, I think they turned out way cute) While putting the Valentine project together I thought, I should make a cute bookmark for me too. Duh? I LOVE to read and I read a lot! You’d think I’d have a stash of bookmarks. No, I’m always looking for something to mark my page, grabbing an envelope, paper towel or junk mail. As I thought of what kind of bookmark I wanted, I thought of trees. I LOVE, LOVE, LOVE trees! So, I rummaged through my scrapbooking supplies and this is what I came up with. I hope you enjoy these ‘Tree for all Seasons’ bookmarks using paint chips, I had so much fun making them. Step by Step: Pick from your stash of paint chips, or pick some up from your local home improvement store. Assemble your equipment. (I had these punches from scrapbooking. Note:I ended up not using some of these because they didn’t punch cleanly, they were old and I ended up purchasing a butterfly punch.) Punch out tree and other elements and assemble tree scene on paint chip. (Halloween is demonstrated but we will switch to others as we move through the step by step.) Glue tree scene to paint chip.(I used a glue stick) Trim bookmark to 2 inches with trimmer. Round corners with a corner punch. Glue 2 inch paint chip to a sheet of white cardstock. Trim each bookmark and round corners with corner punch. Glue white framed paint chip to contrasting cardstock paper, trim and round corners with corner punch. Now we are ready to laminate these little guys. I purchased some self stick laminate from my local office supply store. It was about $10 for 10 sheets, kind of expensive considering this whole project was free for me until now, with the exception of the butterfly punch, it was $3. Apply the first and second layers according to product directions. (I used 5 sheets for 10 bookmarks) Cut and trim each bookmark. Punch hole in top part of bookmark to insert ribbon. Cut ribbon to approximately 8 inches. Fold 8 inch ribbon in half and insert looped portion of ribbon through hole from the back of book mark. This is where it’s tricky since I had no extra hands to take the picture, but basically you thread the tails of the ribbon, from the back, forward through the loop in the front and you pull tight. And you’re done! Now you’re ready to read a book! 🙂 Here are some individual pictures of the 4 seasons plus Halloween. I made this particular batch for my girlfriend and her daughter that’s why I made two different kinds of Fall and Halloween bookmarks. Fall, two ways. Halloween, two ways. Winter, Spring and Summer