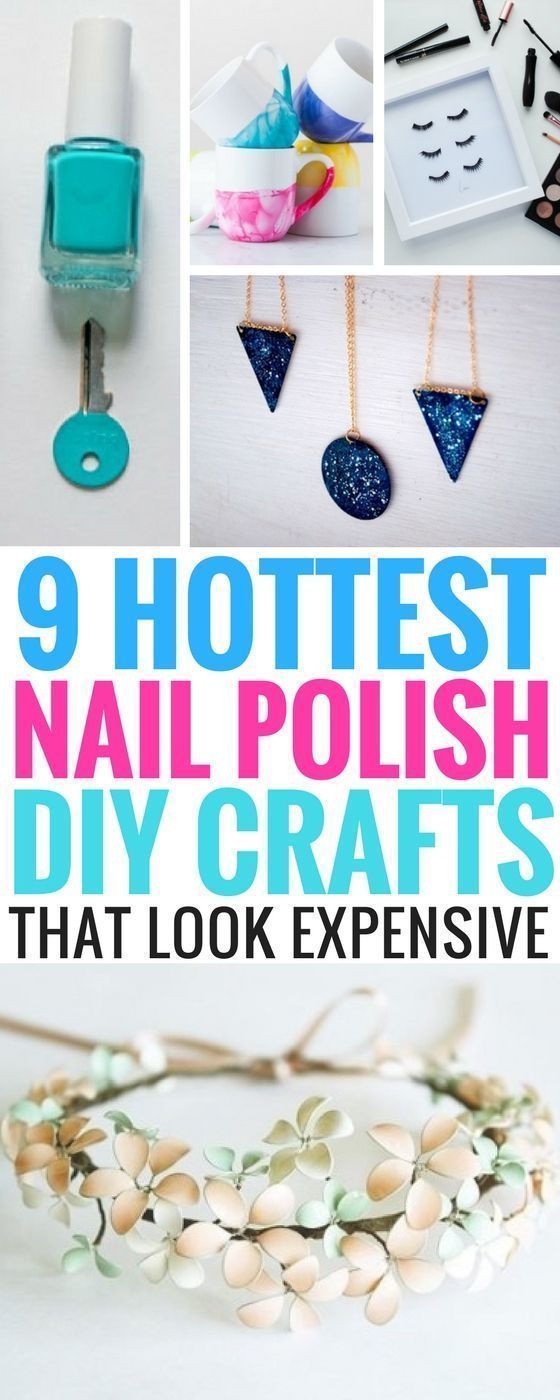
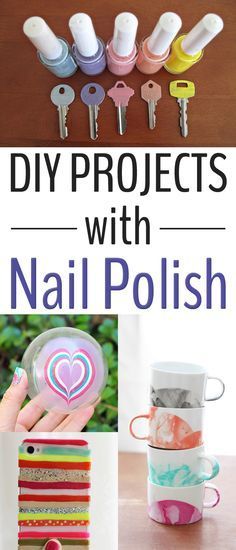
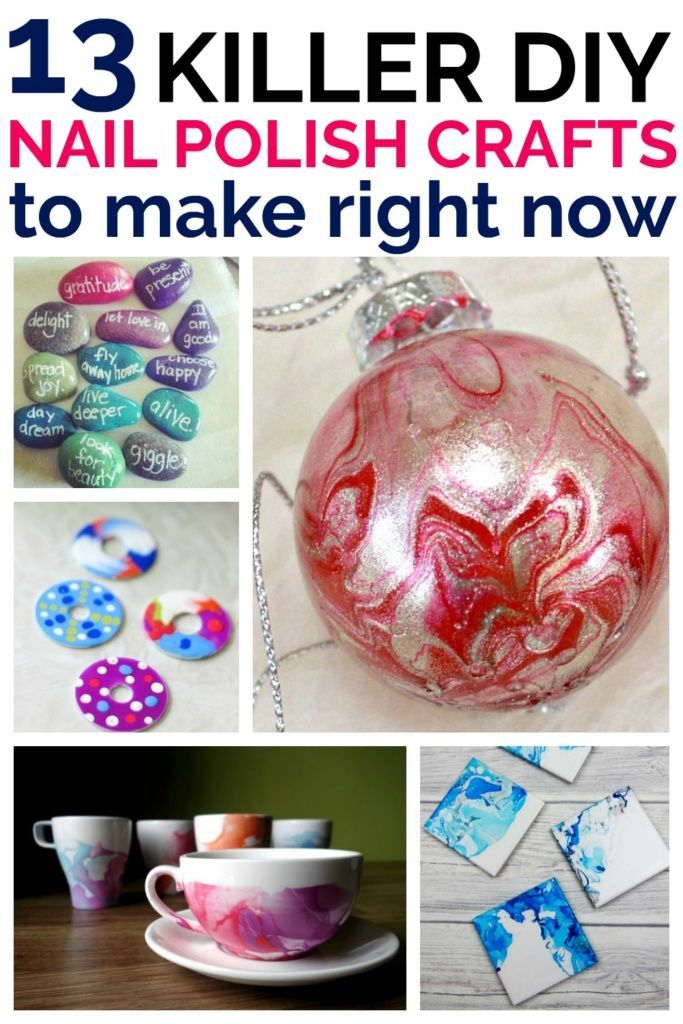
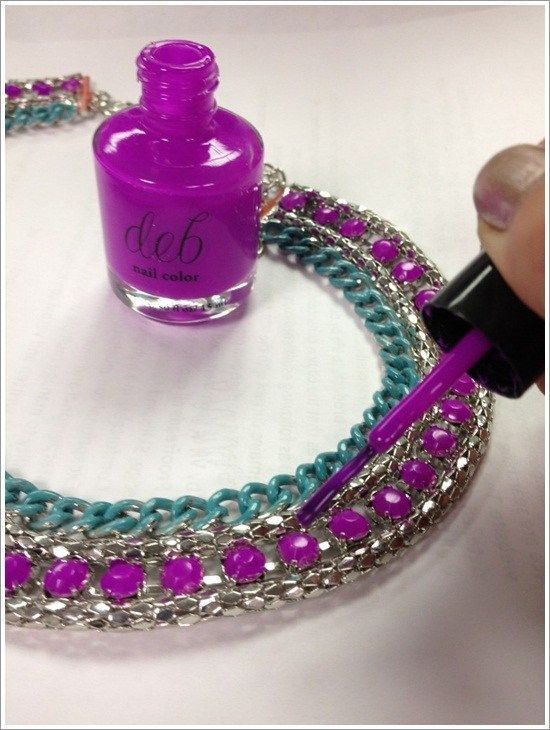
19 diy projects Fun nail polish ideas
DIY Nail Polish Jewelry – Glass and Nail Polish Pendants and Rings
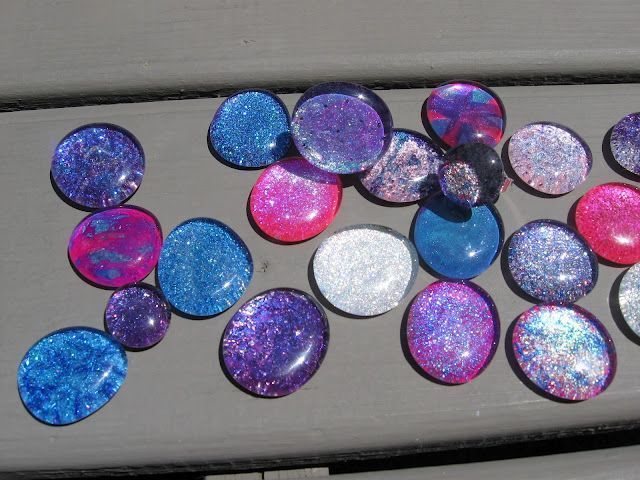
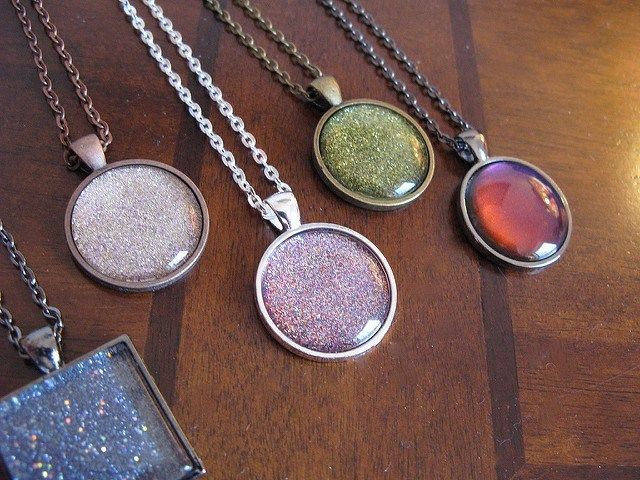
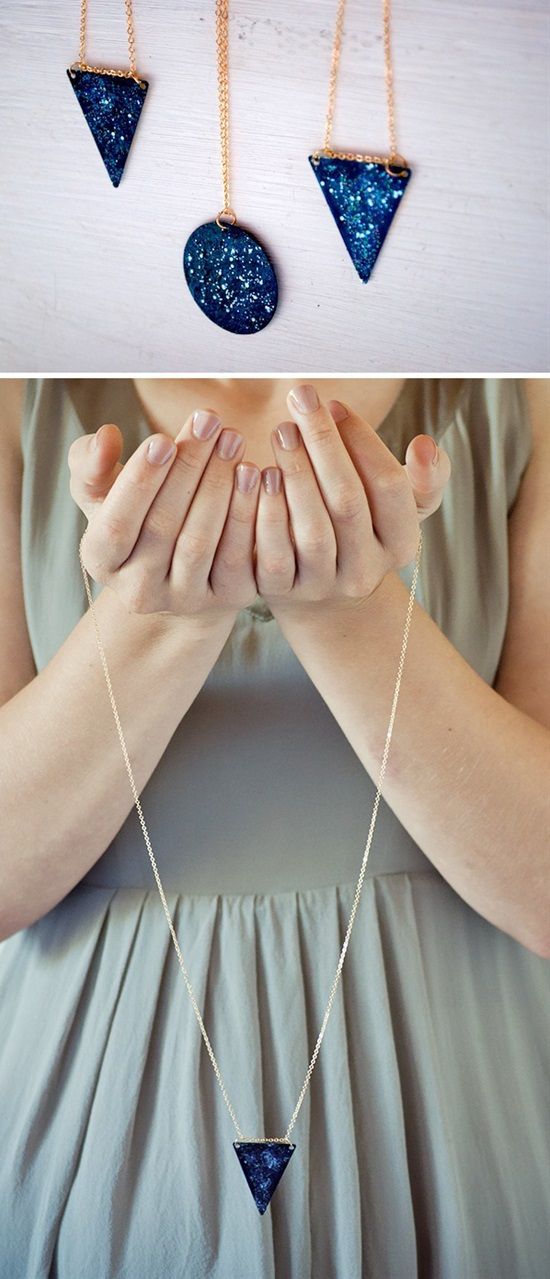
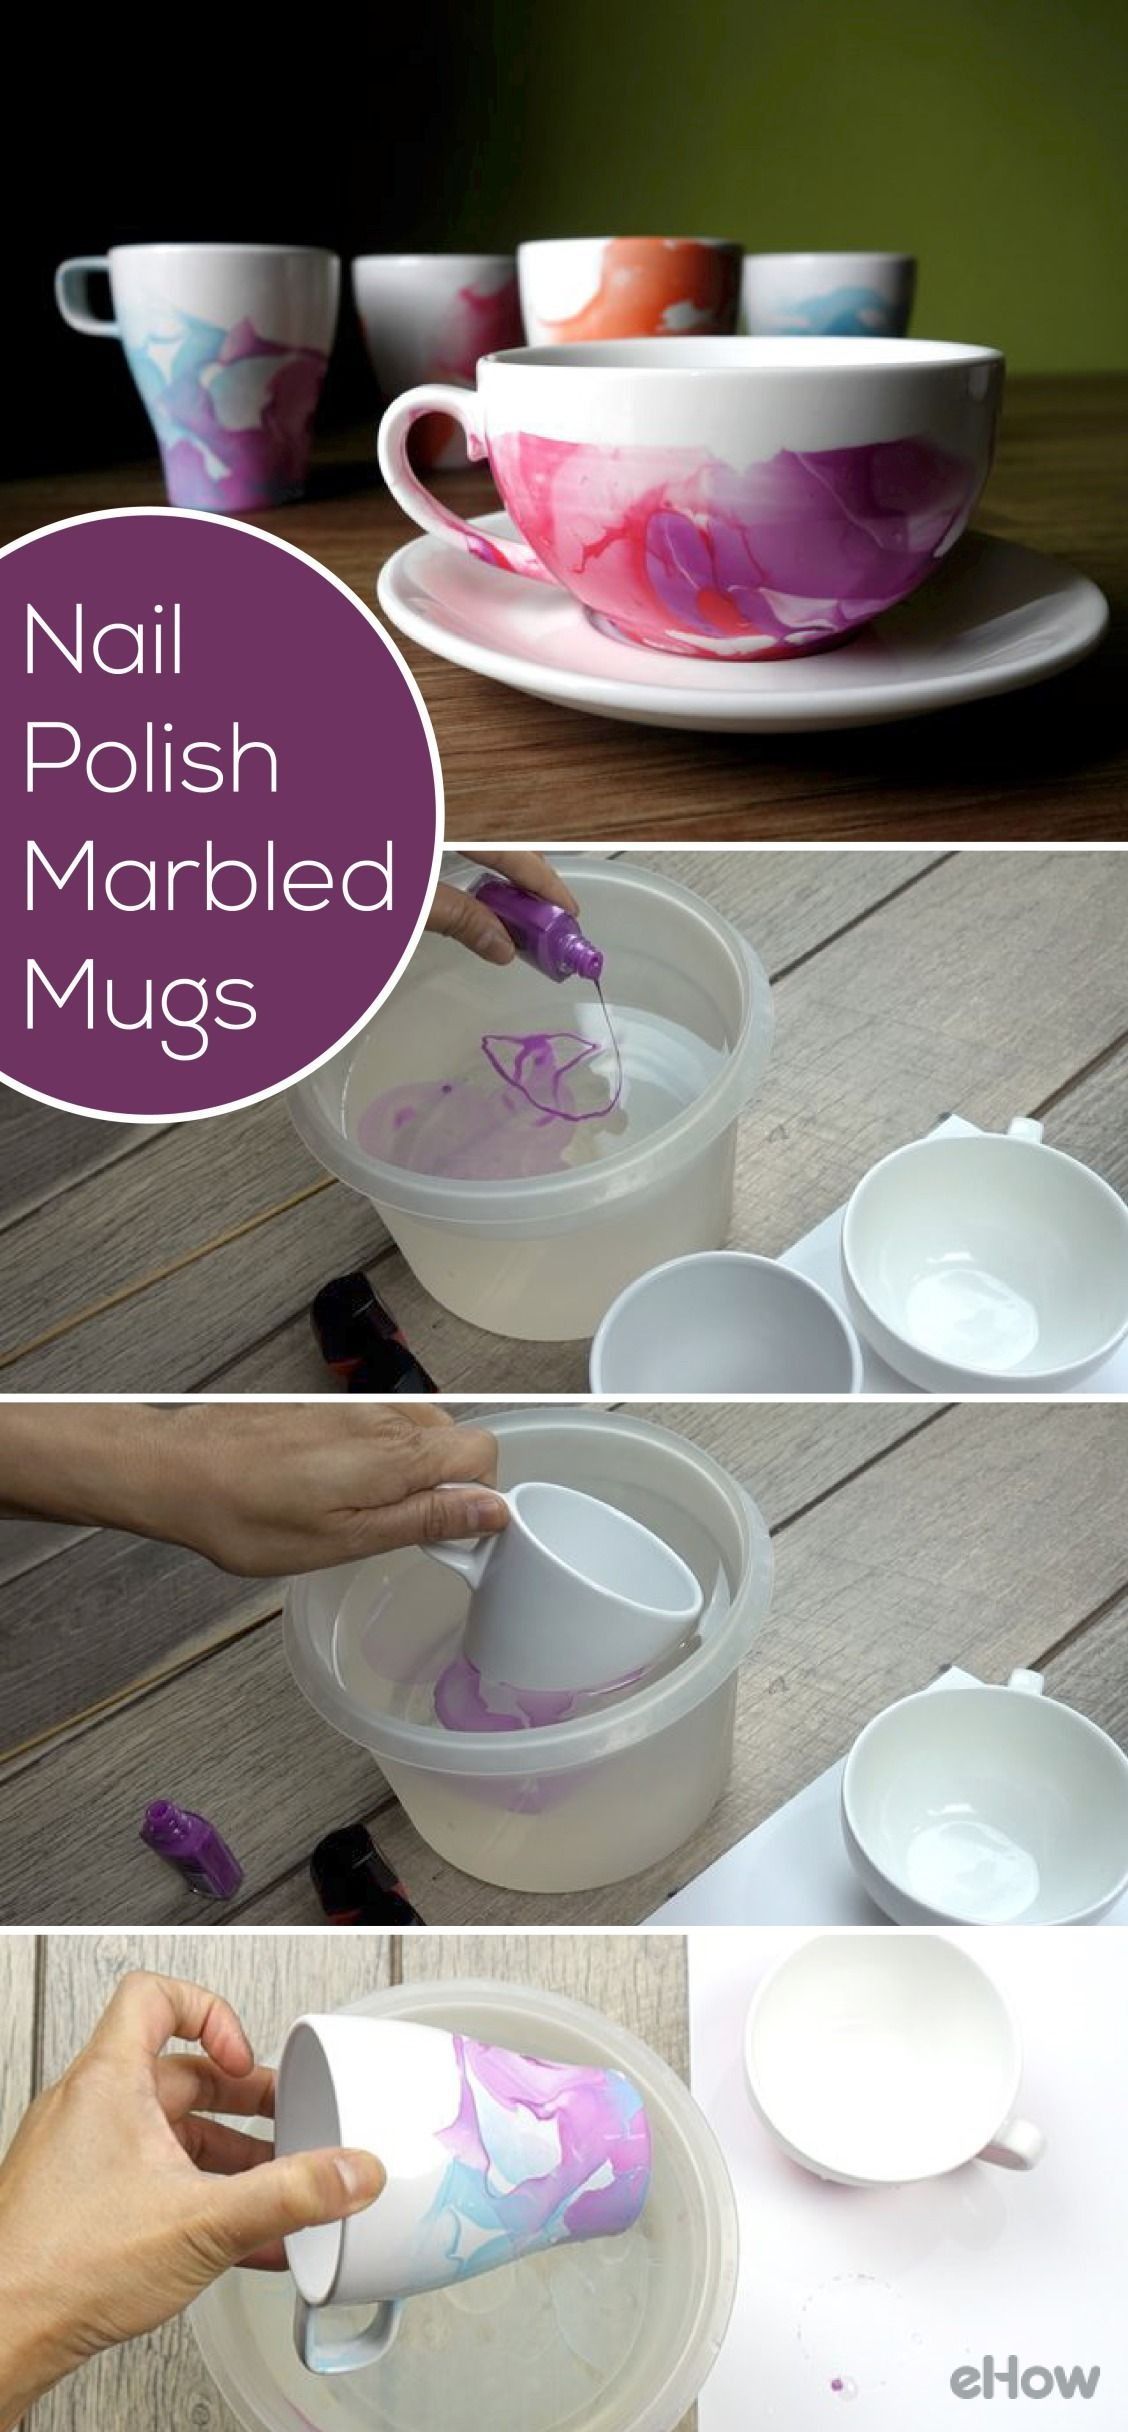
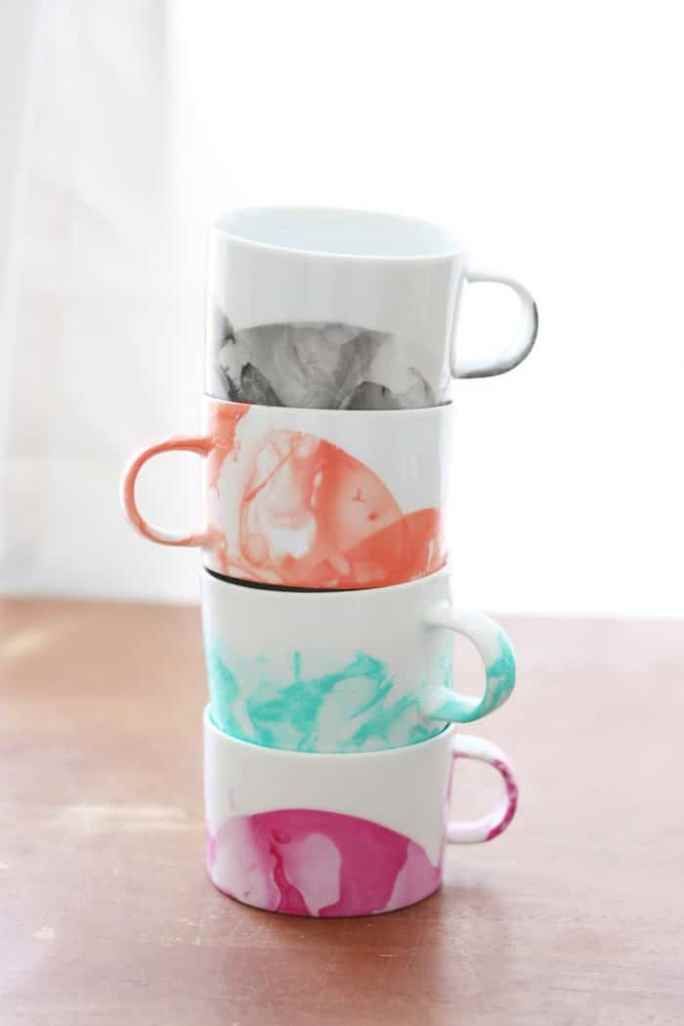
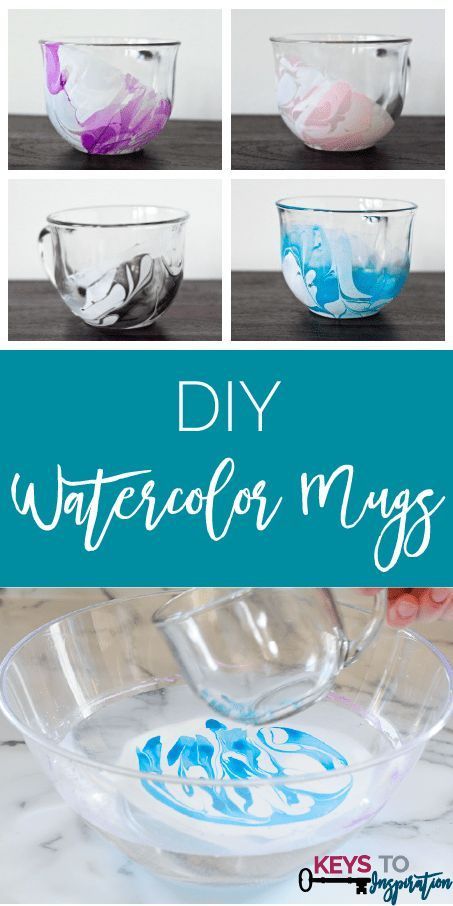
Fun with Nail Polish! Easy and fun craft! Nail polish and glass beads can be turned into a pendant or a ring. Now you can match your nail polish to your accesories Remember to stay up on the latest, be sure to SUBSCRIBE to my YouTube Channel! You can click right HERE! For easy reference, click on the Tutorials tab above. Are you looking for and easy and inexpensive craft, with beautiful results? I have just the craft for you! I wish I could take credit for it, but I can’t. I ran across something similar on YouTube and thought I’d give it a try! I must warn you that the possibilities are endless and it is downright ADDICTIVE! I was only going to do a few and give it a try, but here’s what I ended up with: I took pictures of them out in the sun, in hopes of capturing how beautiful they are. However, the pictures don’t begin to capture the sparkle and depth! I’ll give you a quick run down on the what you need and the how to do it, but here is the video tutorial: You will need: – Clear glass stones (craft stores carry them and often dollar stores do too) – Nail polish top coat – Nail polish in varying colors and glitter polish if you want – Glitter – Contact adhesive (glue that glues glass, metal, etc.) – Ring blank or bail Here are a few items that will work, incase you wanted to give it a try: I did these in different ways. I just started experimenting and kept getting different effects, so I suggest you do the same. You can purchase inexpensive nail polish, look for clearance items. Directions: 1. Take the clear top coat and coat the flat side of the the glass stone. This will help even out the surface imperfections and let dry. On some of these what I did was I put on the the clear top coat and sprinkled a clear glitter (doesn’t have to be clear) on it while it was still wet. 2. Choose a color of nail polish and put it over and let dry. You may need more than one coat. 3. Finish with a coat of top coat to help protect the polish. Let dry COMPLETELY! (I capped completely because I have a tendency to be impatient and not let it dry COMPLETELY!). 4. Take an adhesive/glue that is made to glue metal and glass. Follow the directions! The brand I used says wait 24 hours and 72 for a full dry. Glue the ring blank or the bail to the decorated stones and let it dry COMPLETELY! 5. Accessorize! Accessorize! Accessorize! Here are a few really cool things about it: 1. Easy! Easy! Easy! 2. If you mess up, break out the nail polish remover and start over! 3. Inexpensive, but impressive. 4. Now you can match your jewelry to your NAIL POLISH!!!!!!!!!! I would truly LOVE to see what you come up with! Share your pictures by posting them on my Facebook page!!! Thanks for stopping by and Happy Crafting! Mona
You can try find out more about
