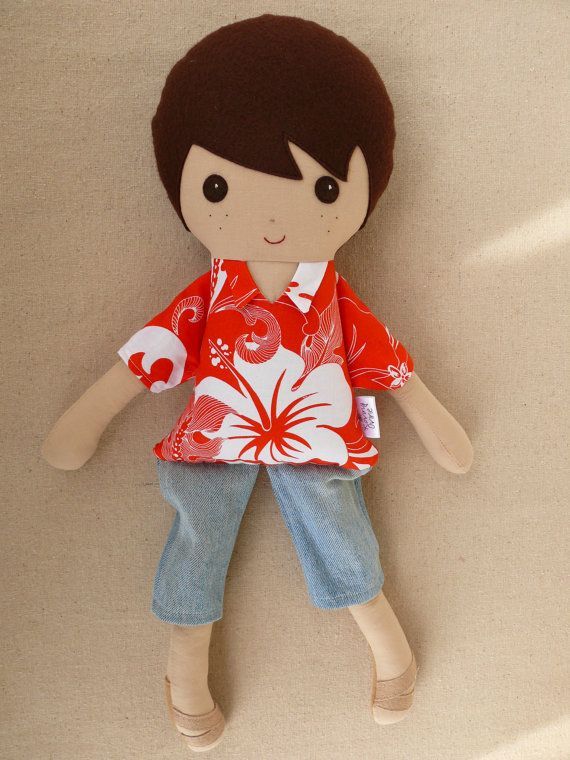
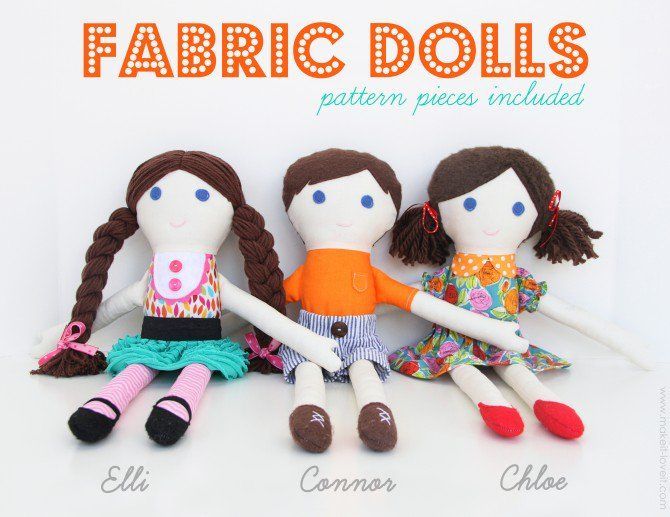
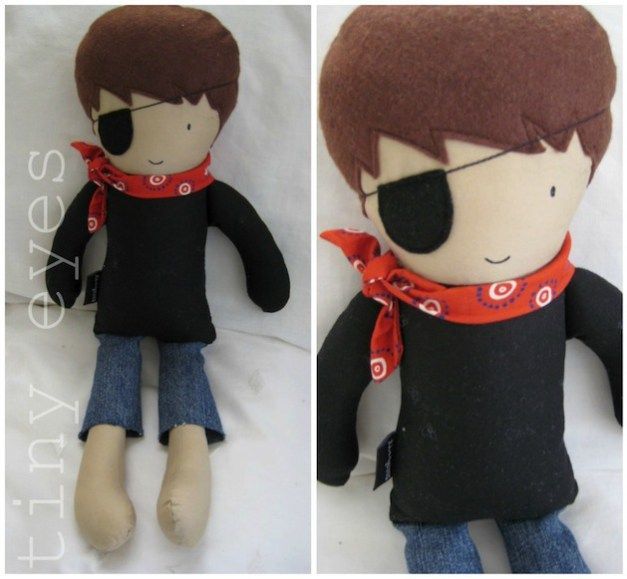
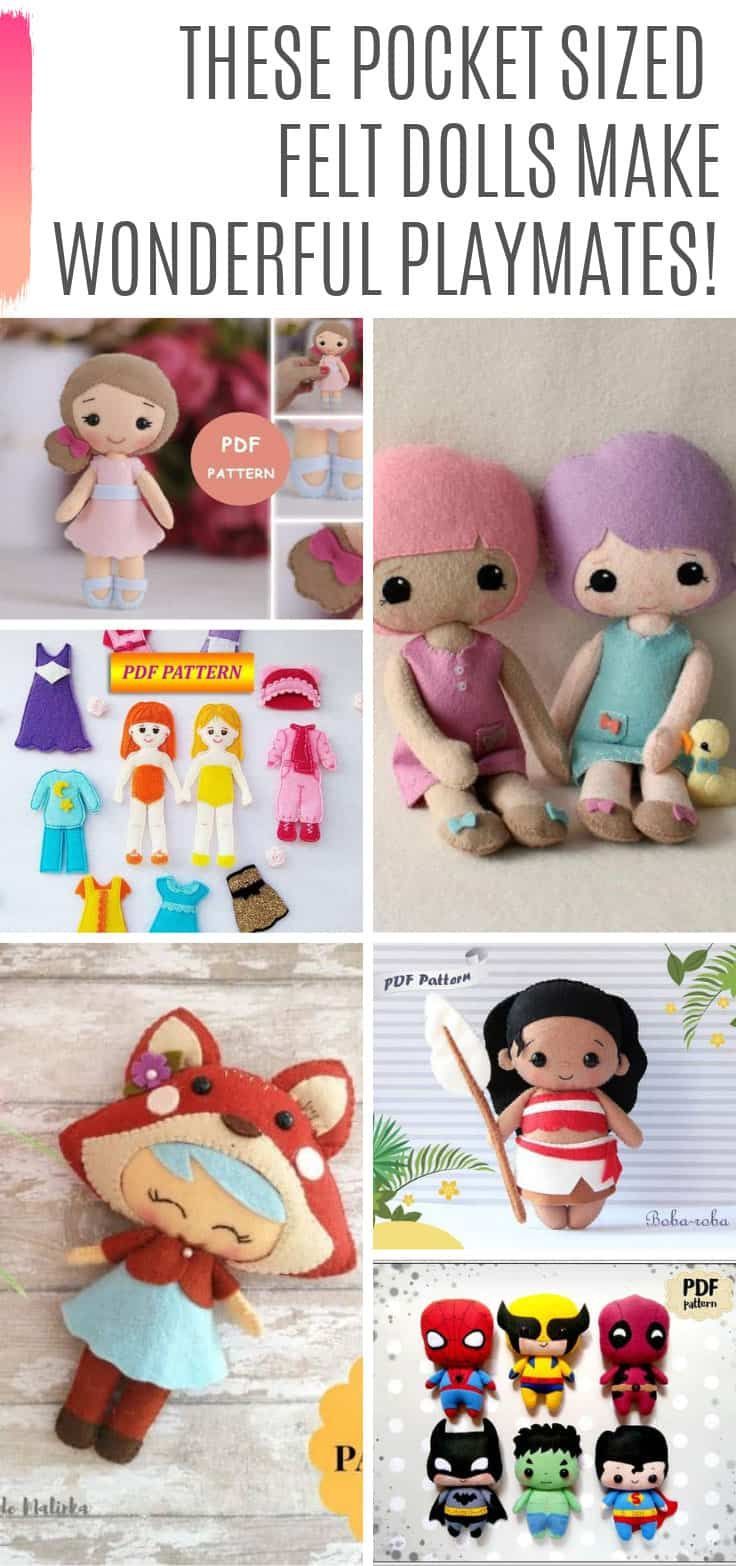
13 fabric crafts For Boys rag dolls ideas
Long Sleeve Rag Doll Dress

So far this week we’ve made an adorable rag doll and my favorite doll dress for her. Today we’re making another dress that is super simple… So far this week we’ve made an adorable rag doll and my favorite doll dress for her. Today we’re making another dress that is super simple and super versatile! This dress (the pink one) is reversible so it’s like two dresses in one! It’s made from a full length pattern piece so you can save lots of time over adding a separate skirt. It has long long sleeves, but you can shorten them for a different look. You can also cut the skirt shorter and use it backwards like a jacket! So many possibilities in this little guy! Here’s what you need: 1/2 yard fabric (get two colors for a reversible dress) thread velcro, snaps, or ribbons the pattern Start by printing the pattern and cutting out the pieces: 2 dress fronts (one from each fabric) 4 dress backs (two from each fabric) Lay one dress front face-up and lay two back pieces face down on top, lining up the shoulders and sides. Sew across the top of the shoulders with a 1/2″ seam allowance. Open the seams and press. Repeat with the other dress front and back pieces. Lay one dress piece face-up, and lay the other face-down on top, lining up the edges. Sew across the end of each arm opening with a 1/2″ seam allowance. Then start at the bottom edge at one side of the back opening and sew down that side, around the neck opening, and down the other side of the back with a 1/2″ seam allowance. You won’t be sewing anything around the bottom or outside edges at this point. Clip around the curves and the armpits. I don’t know why “armpits” is so funny, but I’m going to blame it on Little Mr. Fidgety Sleeper. *chuckle* *snort* Turn the dress right side out. Press it flat. Now you need to line up the sides of the dress with right-sides together (yellow on yellow, pink on pink). Look at the pic above, and make sure you’re lining up the sides at the top with each other and the sides at the bottom with each other. Sew along the side, across the arm, and down the other side on both edges of the dress. You’ll have a mess like this while you’re working on this step: Turn it right-side out and press. It should look like a dress! Now you need to finish the bottom. I sandwiched the layers together and rolled both together under 1/4″ then 1/4″ again and sewed along the folded edge. When the dress is turned yellow-side out it will have a cute pink trim around the bottom (pic below). The other option is to fold each layer individually if you don’t want the trim to show like mine. Just fold the yellow under 1/2″, then the pink under 1/2″, then sandwich the layers together and sew around the bottom. You can even slip some lace or trim in between the layers to add a cute accent to the bottom. All that’s left is adding a closure to the back. I went with a long piece of velcro, but you could also do snaps or buttons. Try playing around with the sleeve length and skirt length for more variety. You can also cut it shorter for a shirt, or turn it around with buttons in the front for a jacket. Have fun!